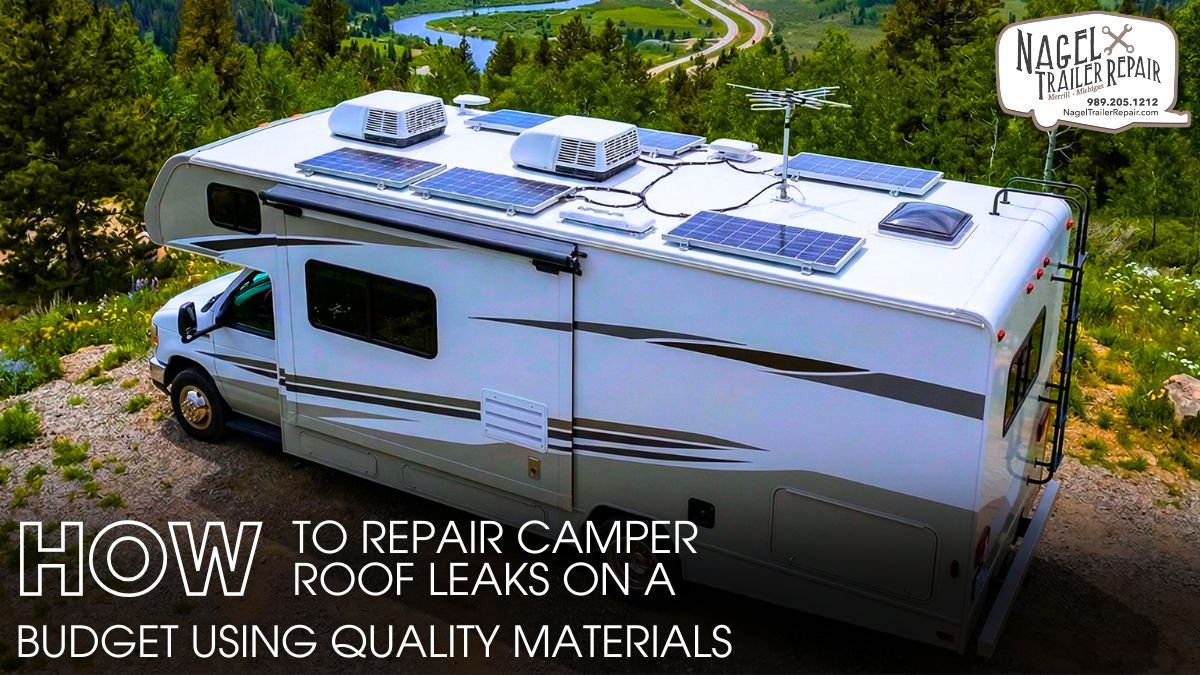
A leaking camper roof can quickly turn an exciting road trip into a stressful and costly experience. Water stains, musty smells, and damaged interiors are warning signs many RV owners face sooner than expected. The good news is that fixing roof leaks does not always require expensive professional work or complicated tools.
Many camper owners assume repairs will drain their budget, so they delay fixing small leaks. Unfortunately, minor cracks and loose seams can allow water to spread through insulation and wood, causing bigger structural damage over time.
This guide will show you practical, affordable ways to handle camper roof repair in Michigan using reliable materials that last. With the right approach, you can stop leaks early, protect your camper, and keep repair costs under control.
Understanding Camper Roof Leaks:
Camper roofs face constant exposure to harsh outdoor conditions. Rain, snow, sunlight, wind, and fluctuating temperatures gradually wear down roofing materials and sealants. Over time, even a tiny crack or loose seam can allow water to enter the structure and create serious damage.
Most camper roofs begin leaking around areas where different components meet. Roof seams, skylights, vents, air conditioning units, antennas, and ladder mounts often rely on sealants to stay waterproof. As these sealants age, they dry out, shrink, or crack, leaving small gaps where water can seep through.
You can often spot a roof leak before it becomes severe. Paying attention to early warning signs helps you address the problem before it spreads.
Common signs of camper roof leaks include:
- Water stains on ceilings or upper walls
- Soft or spongy areas on the roof surface
- Musty or moldy smells inside the camper
- Peeling wallpaper or bubbling interior panels
- Cracked or missing roof sealant
- Damp insulation or visible moisture buildup
By understanding how leaks start and spread, you empower yourself to protect your investment and avoid the stress and high cost of major future repairs.
Budget-Friendly Tools:
- A sturdy ladder
- Caulking gun for applying sealant
- Plastic scraper or putty knife
- Utility knife
- Soft cleaning brush or sponge
- Microfiber cloths
- Rubber gloves and safety glasses
Right Materials for Your Camper Roof Repair:
Once you have the tools ready, choosing the right materials becomes the next important step. Budget-friendly products can still provide strong waterproof protection if you select quality options designed for RV roofs.
Common repair materials include:
- RV lap sealant for sealing seams and fixtures
- Butyl tape for sealing joints and edges
- Waterproof RV repair tape
- Elastomeric roof coatings
- EPDM rubber patches
- Waterproof adhesive sealants
Each material serves a specific purpose depending on the type of damage on your camper roof. For instance, lap sealant is ideal for sealing around vents, seams, and edges where different materials meet, while self-adhering repair tape provides a quick and effective solution for sealing cracks, small punctures, or splitting seals.
Even when working within a budget, it’s essential to use durable, high-quality materials that offer long-term protection. Many RV owners turn to trusted products or professional camper roof sealing Michigan services to ensure the job is done right. Proper sealing prevents recurring leaks, stops water intrusion, and extends the life of the roof.
By investing in dependable materials now, you can avoid frequent repairs, reduce maintenance costs, and keep your camper roof in better shape through every season.
Inspecting the Camper Roof:
A thorough inspection is the most critical step when repairing a camper roof leak. If you fail to identify the exact entry point, your fix will likely be temporary, allowing water to continue seeping in and causing hidden damage.
Follow these basic safety precautions:
- Place your ladder on stable ground
- Wear shoes with good traction
- Avoid inspecting the roof during rain or snow
- Move slowly and distribute your weight evenly
- Ask someone to assist or watch from below
Important areas to inspect include:
- Roof seams and outer edges
- Vent covers and skylights
- Air conditioning mounts
- Antenna bases
- Roof rack connections
- Ladder brackets
How to Find and Fix Camper Roof Leaks?
You may also notice dried or cracked sealant along seams or fixtures. These areas often indicate where leaks may develop. Sometimes the interior water stain does not appear directly below the entry point. Water can travel across the roof structure before dripping into the camper. Because of this, thorough inspection is essential.
Some camper owners also perform a hose test to locate leaks. One person sprays water slowly across the roof while another person checks the interior for signs of water entry.
If the source remains difficult to find, many people search for “camper repair near me” to get professional assistance. RV technicians can use specialized tools such as moisture meters or pressure testing systems to detect hidden leaks. Regular inspections help you catch small problems early and prevent serious roof damage.
Preparing the Roof Surface:
Proper surface preparation makes a huge difference in the success of any camper roof repair. If you skip cleaning or preparation steps, the sealant may not bond properly and the leak may return. Start by cleaning the entire repair area. Dirt, debris, grease, and oxidation can interfere with sealants and adhesives.
You can prepare the roof surface using these steps:
- Remove leaves, twigs, and loose debris
- Wash the roof with mild soap and water
- Scrub dirty areas gently with a soft brush
- Rinse the roof thoroughly
- Allow the surface to dry completely
Once the area is clean, inspect the damaged section more closely. Many older repairs fail because new sealant was applied over deteriorating material. Use a plastic scraper or putty knife to remove cracked or peeling sealant. Take your time and avoid damaging the roof membrane during this process.
Budget-Friendly Camper Roof Repair Methods:
After inspecting and preparing the roof, you can begin the actual repair process. The repair method depends on the type and severity of the damage. Small cracks or minor seam gaps can often be repaired using RV roof sealant. Apply the sealant carefully with a caulking gun and spread it evenly across the damaged area. Make sure the sealant extends slightly beyond the crack to create a strong waterproof seal.
For medium-sized cracks or splits, RV repair tape works extremely well. This tape forms a durable seal and provides an affordable solution for many common roof leaks.
Typical steps for applying repair tape include:
- Clean and dry the damaged surface
- Cut a piece of tape larger than the damaged area
- Peel off the backing
- Press the tape firmly onto the roof
- Smooth out air bubbles using hand pressure or a roller
Camper Roof Patching & Leak Prevention:
Larger punctures or worn sections may require patch kits designed specifically for RV roofs. These patches bond directly to the roof membrane and create a long-lasting repair.
Some budget-friendly repairs also involve reinforcing vulnerable areas before they leak.
Common preventative repairs include:
- Resealing roof seams
- Adding sealant around vent bases
- Covering exposed screw heads
- Strengthening roof edges with repair tape
However, some damage requires more advanced repair work. If you notice widespread cracks, large soft spots, or severe water damage, professional help may be necessary. Specialists attached with camper roofing Michigan shops can inspect the roof structure and recommend durable repair solutions.
Even when you repair leaks yourself, applying the materials correctly ensures the repair lasts longer and protects your camper from future water damage.
Preventing Future Roof Leaks:
Preventing leaks is always easier and less expensive than repairing them. With regular maintenance, you can keep your camper roof in good condition and avoid many common problems. Most experienced RV owners inspect their roofs at least twice a year. Many do this before the camping season begins and again before winter storage.
Simple maintenance practices can make a big difference.
Important preventative steps include:
- Cleaning the roof regularly
- Inspecting sealants around vents and fixtures
- Resealing cracks or gaps early
- Removing leaves and debris from the roof
- Checking roof edges and seams
Applying protective coatings can also extend the life of your camper roof. These coatings create an additional waterproof layer and protect roofing materials from UV damage.
Expert Camper Roof Sealing Benefits:
Temperature changes also affect roof materials. Seasonal expansion and contraction may weaken sealants over time, making regular resealing an important maintenance task.
Some camper owners prefer professional maintenance for added peace of mind. Experts who specialize in camper roof sealing Michigan services, can apply durable sealing systems that help prevent leaks and extend the roof’s lifespan.
Routine maintenance offers several important benefits:
- Extends the overall lifespan of your camper
- Prevents mold and water damage
- Protects insulation and interior structures
- Maintains camper resale value
- Reduces expensive repairs in the future
A small amount of preventative care each year can save you significant time and money while keeping your camper ready for every adventure.
The Role of Professional Maintenance:
Professional maintenance plays an important role in keeping a camper roof strong, sealed, and ready for long trips. While many small leaks or cracks can be repaired at home with quality materials, experienced technicians know how to identify deeper issues that might not be visible at first glance. They carefully inspect seams, vents, coatings, and roof membranes to locate hidden damage before it spreads.
Over time, roof coatings can begin to peel, blister, or crack due to sun exposure and changing weather conditions. When this happens, professionals remove damaged layers, prepare the surface properly, and apply durable coatings that restore waterproof protection. This process not only stops leaks but also strengthens the entire roof system.
Conclusion:
Camper roof leaks can quickly escalate from minor annoyances into serious structural problems if they are not addressed early. By understanding common leak sources, using affordable repair tools, and applying reliable sealing materials, many camper owners can handle basic repairs without overspending. Regular inspections, proper surface preparation, and timely maintenance also play a crucial role in preventing future water damage.
However, when leaks become difficult to locate or repairs seem beyond simple fixes, seeking expert help is the safest option. Nagel Trailer Repair provides professional camper roof repair in Michigan, ensuring thorough inspections, durable sealing, and long-lasting protection, helping you keep your camper dry, safe, and ready for every road adventure.