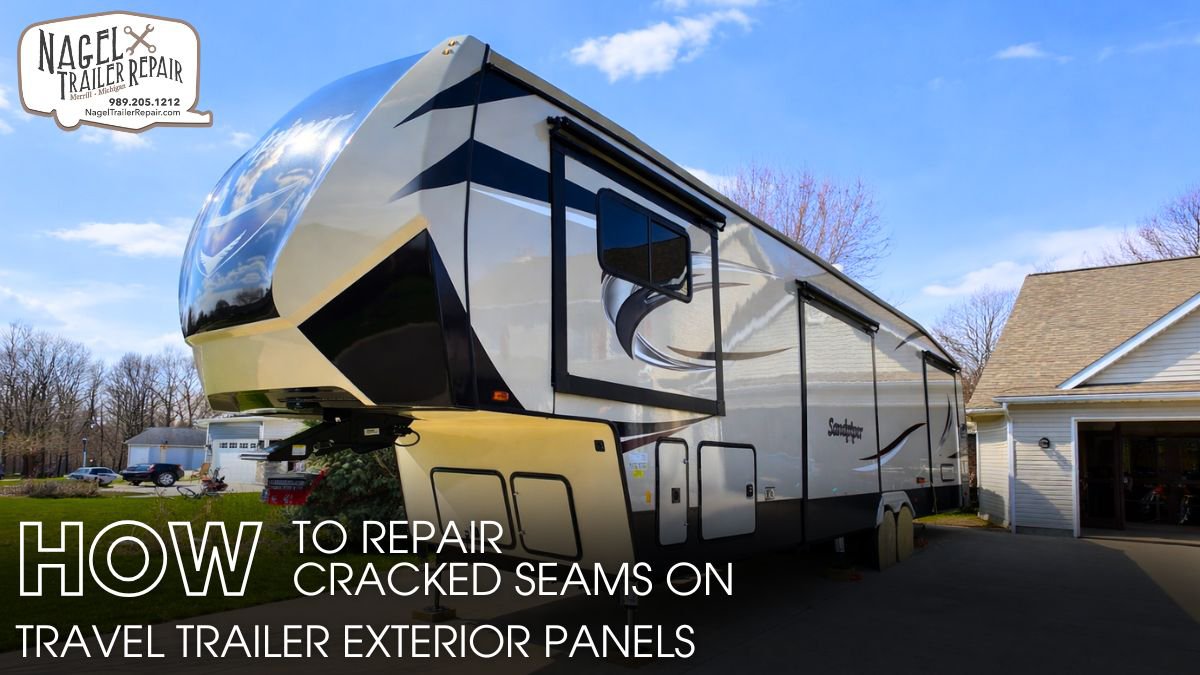
Cracked seams on travel trailer exterior panels often start small, but they demand immediate attention. A minor split can quickly turn into water intrusion, insulation damage, and costly structural issues if ignored. Knowing how these seams fail puts you in control before problems escalate.
Many owners underestimate how temperature swings, road vibration, and aging sealants stress exterior seams over time. Without timely intervention, moisture seeps behind panels, leading to rot, mold, and hidden damage that compromises safety and resale value—especially in harsh climates.
This guide walks you through a clear, proven process to repair cracked seams correctly and prevent repeat failures. Whether you handle maintenance yourself or rely on professional travel trailer repair in Michigan, you’ll learn practical steps to protect your trailer and extend its lifespan with confidence.
Understanding Exterior Seam Cracks:
Exterior seams play a critical role in keeping your travel trailer weatherproof. These seams seal the joints where panels meet roofs, corners, trim rails, windows, doors, and slide-outs. Manufacturers design them to flex and move, but no sealant lasts forever. Over time, exposure to sun, wind, rain, and road vibration breaks down even high-quality materials.
In colder regions like Michigan, seam damage in an RV trailer progresses faster. Seasonal temperature shifts cause panels to expand and contract repeatedly. Moisture sneaks into tiny openings, freezes overnight, and expands. This constant pressure widens cracks and weakens surrounding materials long before the damage becomes visible from the outside. Prompt travel trailer repair Michigan service is essential to prevent this hidden deterioration.
Cracked seams can lead to serious problems, including:
- Water intrusion behind exterior panels
- Insulation breakdown and heat loss
- Mold growth inside wall cavities
- Delamination of fiberglass or aluminum
- Wood rot that weakens wall structure
Many owners mistake seam cracks for minor cosmetic flaws. In reality, they act as direct entry points for moisture. Addressing them early prevents extensive repairs later and keeps your trailer structurally sound.
Tools and Materials Required:
To achieve a lasting seam repair, you must prioritize the synergy between high-quality tools and specialized materials. Most DIY failures occur because owners reach for standard household caulks or hardware-store construction sealants. While these products work wonders on a stationary kitchen backsplash, they quickly crumble under the unique pressures of the open road.
Your travel trailer is essentially a rolling earthquake; it demands sealants with extreme elasticity to absorb constant structural vibrations without cracking. Furthermore, these materials must endure relentless UV bombardment and radical temperature shifts. To protect your investment, bypass the “all-purpose” aisle and select marine or RV-grade polymers. By using products engineered for mobile environments, you ensure your seams remain watertight, flexible, and resilient for years to come.
Before starting, gather all necessary supplies to avoid interruptions mid-repair. Typical seam repair materials include:
- RV-approved sealant compatible with your panel type
- Plastic scrapers that won’t damage surfaces
- Cleaning solvent recommended by the sealant manufacturer
- Microfiber cloths or lint-free rags
- Masking tape for clean, professional edges
- Gloves, eye protection, and stable ladder access
Professionals specializing in RV repair Michigan services, consistently emphasize material quality. A slightly higher upfront cost for proper sealant often saves hundreds or thousands of dollars in future water damage repairs.
Inspecting Damaged Seams:
A thorough inspection allows you to identify more than just obvious cracks; it reveals the subtle warning signs of deeper structural issues before they turn into disasters. Start by giving the exterior a deep wash. Layers of road grime and oxidation act like camouflage for failing seams, so you must strip away the dirt to see the true condition of the seals.
Perform your walk-around in bright, natural light and move slowly. Rushing leads to oversight, so take your time to examine every inch. Focus your energy on the seam lines, especially high-stress zones where different materials meet. These areas flex the most during highway travel and extreme temperature shifts. Because different materials expand and contract at unique rates, these joints are often the first to fail. Catching a hairline fracture now saves you from a massive repair later.
Pay attention to:
- Cracked, brittle, or shrinking sealant
- Sealant pulling away from panel edges
- Bubbling, chalking, or discoloration
- Soft spots when gently pressed
- Rust or corrosion near seam fasteners
Corners, roof-to-wall transitions, and front and rear caps deserve extra attention. Camper repair Michigan technicians often find that water damage begins in these locations long before interior stains appear. Early detection gives you the chance to repair seams before moisture spreads behind the walls.
Preparing the Repair Area:
The lifespan of your camper trailer repair isn’t decided by the final stroke of the brush, but by the groundwork you lay before opening a single tube of sealant. While it’s tempting to simply “bridge the gap” by layering new material over the old, failing sealant, this shortcut is a recipe for premature failure. The original material continues to degrade and shrink underneath, eventually pulling the new layer away and inviting leaks back in.
To do it right, roll up your sleeves and clear the deck. Use plastic scrapers to aggressively remove every trace of cracked or loose sealant; plastic is key here, as it protects sensitive aluminum or fiberglass from ugly scratches. Once the surface is bare, scrub the area with a high-quality solvent. By stripping away hidden oils and stubborn residue, you ensure the new bond is permanent.
Proper preparation includes:
- Removing all failed sealant completely
- Cleaning with approved solvents
- Allowing the surface to dry fully
- Masking adjacent surfaces for clean lines
Experienced travel trailer repair Michigan professionals never rush this step. Michigan’s moisture and temperature extremes expose poorly prepared seams quickly. Taking extra time during preparation dramatically increases the durability of the repair.
Repairing the Cracked Seam:
After ensuring the surface is pristine and bone-dry, you’re ready to lay down the new sealant. Your first move is matching the product to the job: grab a self-leveling sealant for horizontal seams so it flows naturally into crevices, but switch to a non-sag sealant for vertical edges to prevent messy runs.
When you start your bead, aim for one fluid, uninterrupted motion. If you stop and restart, you create “cold joints”—tiny gaps where moisture loves to sneak in. Keep your hand steady and the pressure consistent. Once the bead is down, use a tool or a gloved finger to gently smooth the material. You aren’t just making it look pretty; you’re forcing the sealant to bond deeply with both surfaces. Keep the layer thick enough to remain flexible so it can weather the elements without cracking.
Key repair tips include:
- Applying sealant evenly without gaps
- Avoiding excessive smoothing that thins coverage
- Maintaining consistent bead width
- Allowing full curing before travel or rain exposure
Many owners prefer mobile RV repair Michigan services for seam work, especially on roof areas. On-site professionals can complete repairs safely and ensure proper curing without requiring the trailer to be moved.
Preventing Future Seam Damage:
Think of preventive maintenance as the ultimate insurance policy for your trailer. Seam failure rarely happens overnight; it’s a slow, progressive process that leaves a trail of clues. By staying observant, you gain a massive advantage, catching minor separations before they escalate into structural nightmares.
Take the Lead on Care Don’t wait for a leak to tell you there’s a problem. Instead, establish a rigorous maintenance routine where seam inspections are non-negotiable. When you treat these checks as a standard part of your ownership habits, you shift from being reactive to proactive.
Protect Your Investment Simple, consistent actions—like cleaning seals and checking for hairline cracks—slash long-term repair costs. By intervening early, you preserve the integrity of your trailer and keep your hard-earned money in your pocket. Regular vigilance isn’t just chores; it’s smart ownership.
Best practices include:
- Inspecting seams at least twice per year
- Checking after long trips or severe storms
- Cleaning exterior surfaces to reduce UV damage
- Resealing small cracks before they spread
- Storing trailers with proper airflow and protection
Scheduling periodic professional inspections for camper repair Michigan, helps catch issues early. Preventive resealing costs far less than repairing water-damaged walls, insulation, and flooring.
The Role of Professional Maintenance:
Professional maintenance plays a critical role in preserving both the exterior and interior integrity of a travel trailer. While small issues may appear manageable at first, trained technicians know how to identify hidden damage that often goes unnoticed during casual inspections. They understand how exterior joints, panels, and structural components interact, allowing them to address weaknesses before moisture intrusion or structural stress spreads deeper.
When it comes to exterior protection, professionals apply proven techniques and materials that withstand road vibration, UV exposure, and seasonal temperature shifts. Their experience ensures proper surface preparation, correct product selection, and precise application—factors that directly affect how long repairs last. Inside the trailer, flooring issues demand the same level of expertise. Specialists can trace soft spots or uneven surfaces back to their root causes, such as subfloor moisture or structural movement, instead of treating surface symptoms alone.
Relying on professional maintenance saves time, reduces long-term repair costs, and provides peace of mind. More importantly, it helps owners maintain safety, comfort, and resale value by ensuring repairs are done correctly the first time.
Conclusion:
Cracked seams on travel trailer exterior panels may seem minor, but they often signal serious structural problems. When moisture enters through failed seams, it quietly damages insulation and framing long before visible signs appear. By understanding how cracks form and using the right materials, you can stop water damage before it spreads.
Consistent inspections and timely resealing are vital for maintaining your trailer’s integrity. Whether you handle maintenance yourself or depend on the experts at Nagel Trailer Repair for professional travel trailer repair in Michigan, addressing seam damage early protects your investment and ensures your RV remains reliable for years to come.