
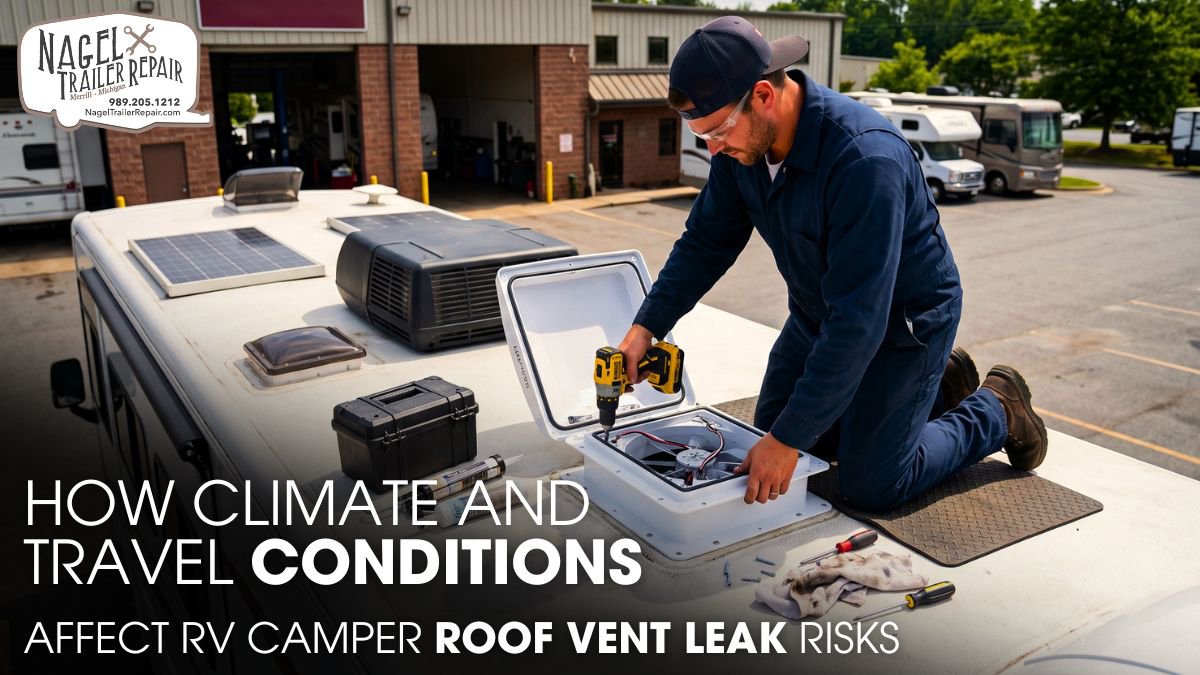
Climate and road conditions can put your RV camper roof vents under constant stress. Heat, rain, snow, wind, UV exposure, and road vibration can gradually weaken seals and vent components, increasing the risk of leaks when you least expect them.
A leaking roof vent can quickly lead to water stains, damp insulation, mold growth, and costly structural damage. Ignoring small cracks, loose fittings, or deteriorated sealant may allow moisture to spread beneath the roof surface and turn a minor issue into a major repair.
Understanding how climate and travel conditions affect roof vent performance helps you stay ahead of leaks. This guide explains key risk factors, warning signs, and practical prevention measures—insights any RV roof expert in Michigan would recommend for harsh winters and humid summers—to keep your camper roof dry, secure, and travel-ready.
Factors That Increase Roof Vent Leak Risks:
Your RV roof vent sits at one of the most vulnerable points on the roof because installers must cut through the roof assembly to create the opening. The vent flange, fasteners, sealant, gasket, and roofing membrane must work together to keep water outside. When one component deteriorates, the entire seal can become vulnerable.
Heat creates one of the most common sources of stress. Roof surfaces can become significantly hotter than the surrounding air under direct sunlight. As temperatures rise, the roof membrane, vent housing, and sealant expand. When temperatures fall, they contract again. These materials do not necessarily expand and contract at the same rate, so repeated thermal cycling places mechanical stress on the sealant joint.
UV radiation accelerates this deterioration. Long-term exposure can change the physical properties of exposed sealants, making them harder, less flexible, and more prone to surface cracking. Once the sealant loses its ability to accommodate movement, small separations can develop along the vent flange.
Freeze-thaw cycles can worsen tiny roof cracks when trapped water expands during freezing. Repeated expansion can enlarge defects, weaken sealant adhesion, and allow moisture to spread. An RV roofing shop in Michigan can identify these hidden vulnerabilities and address them before serious roof damage develops.
- Inspect the complete sealant perimeter.
- Look for hardened, cracked, or shrinking sealant.
- Check whether the vent flange sits flat.
- Examine the surrounding membrane for damage.
How Rain and Humidity Affect RV Roof Vents?
Rain puts every roof penetration through a practical waterproofing test. A healthy vent assembly directs water over the flange and away from the roof opening. A compromised seal changes that water path. Instead of flowing harmlessly across the roof, water can enter beneath the flange and travel into the roof assembly.
Heavy rain increases the amount of water reaching the vent within a short period. Strong wind can make the problem worse by driving water against vulnerable edges. If the roof contains debris or has poor drainage, water may remain around the vent longer and increase the opportunity for infiltration.
Water does not always travel straight downward. Once moisture enters a roof assembly, it can move horizontally along interfaces between roofing materials, insulation, and structural components. That explains why an interior water stain may appear several inches—or even farther—from the actual entry point.
Humidity also matters, particularly when moisture becomes trapped inside the roof cavity. Wet insulation can lose insulating performance and remain damp for prolonged periods. Persistent moisture can also promote corrosion of metal components and deterioration of wood-based structural materials.
- Clear leaves and debris from roof drainage areas.
- Inspect vents after heavy or prolonged rainfall.
- Investigate recurring dampness instead of masking it.
- Check adjacent roof areas when a vent shows leakage.
A recurring leak needs a thorough diagnosis instead of repeated surface caulking. For RV roof repairs in Michigan, identifying the actual failure is essential. Applying new sealant without finding the source may hide the leak temporarily while allowing moisture to remain trapped beneath the surface.
Travel Conditions That Stress RV Roof Vents:
Your RV roof experiences more mechanical movement on the road than it does while parked. Every pothole, uneven road surface, bridge joint, hard braking event, and sharp turn can transfer vibration and structural movement through the vehicle.
Roof vents must tolerate this movement without losing their seal. Sealants provide flexibility, but their ability to absorb movement decreases as they age or lose adhesion. Repeated vibration can gradually separate the sealant from the flange or roofing membrane.
Fasteners can also become a concern. Constant vibration may loosen mounting hardware or allow slight movement between the vent flange and roof. Once the flange begins moving, it can place additional stress on the surrounding sealant and enlarge existing gaps.
Highway travel introduces aerodynamic loading as well. Airflow around the RV creates fluctuating pressure on roof-mounted components. Crosswinds and turbulence from passing trucks can increase these forces. A properly installed vent should withstand normal travel conditions, but a vent with an already damaged flange or weakened fasteners may respond differently.
- Inspect roof vents after rough-road travel.
- Check for loose fasteners or shifted flanges.
- Examine vent housings for cracks.
- Pay attention to new wind noise around a vent.
Think of roof-vent maintenance as managing long-term fatigue. While one journey rarely damages a sound seal, repeated vibration can slowly worsen tiny defects. Regular inspections and professional RV roof sealing in Michigan can prevent minor seal damage from developing into costly waterproofing failures, helping keep your camper protected through changing travel conditions.
Seasonal Risks for RV Camper Roofs:
Each season creates a different stress profile for the RV roof. During summer, intense sunlight combines with elevated roof temperatures. This combination accelerates UV degradation and thermal movement, particularly around exposed sealant joints and plastic vent components.
Winter introduces freezing temperatures, snow, ice, and contraction. Snow adds weight to the roof, while ice can obstruct drainage around roof penetrations. Older sealants may also become less flexible in cold conditions, making them more susceptible to cracking when the roof assembly moves.
Spring deserves a careful inspection because melting snow and frequent rainfall can expose weaknesses that developed during winter. Water may find newly enlarged cracks and begin entering the roof assembly.
Fall preparation also plays an important role. Leaves, dirt, and organic debris can collect around roof vents and drainage channels. These materials can retain moisture against the sealant and create conditions that accelerate deterioration.
- Inspect the roof before winter storage.
- Remove debris before severe weather arrives.
- Recheck vents after major freeze-thaw periods.
- Examine seals after extended summer exposure.
Frequent RV travelers should schedule roof inspections based on mileage, weather exposure, and travel conditions. Long-distance trips through heavy rain, snow, heat, or rough roads can accelerate roof wear and increase leak risks. If you are searching for “RV roof repair near me”, regular inspections can help identify damaged seals, cracks, or loose components early and prevent costly water damage.
Signs of an RV Roof Vent Leak:
A roof vent leak does not always announce itself with a visible drip. Water can move through insulation and structural channels before reaching the interior ceiling. By the time you notice a brown stain or soft ceiling area, moisture may have already affected materials inside the roof.
Start your inspection inside the RV. Look for discoloration, bubbling, soft spots, damp insulation, peeling interior finishes, or musty odors. These symptoms do not automatically prove that the vent caused the leak, but they indicate that you should investigate the surrounding roof area.
Then inspect the vent from above. Examine the entire flange instead of checking only the visibly damaged section. Look for cracked sealant, lifting edges, gaps, shrinkage, contamination, loose fasteners, damaged plastic, and movement around the vent frame.
Moisture can also remain hidden after the roof surface dries. A professional technician may use a moisture meter or controlled water test to identify concealed moisture and trace the likely entry point. Technicians should perform water testing systematically rather than flooding the entire roof at once, which can make the source difficult to isolate.
- Check interior ceiling surfaces for stains.
- Feel for unusual softness around affected areas.
- Inspect the vent flange from every side.
- Look for corrosion near mounting hardware.
Visible damage may not reveal the full scope of a roofing issue. Even a minor sealant failure can let moisture penetrate insulation, decking, or framing, causing hidden deterioration. Professional RV roofing services in Michigan can help identify these concealed problems early and prevent costly structural damage.
Preventing Roof Vent Leaks on Trips:
Prevention starts with a simple inspection before departure. Walk the roof only when it is safe to do so and follow the RV manufacturer’s recommendations for roof access. Examine each roof vent, skylight, antenna, pipe penetration, and other component that interrupts the roofing membrane.
When you find failed sealant, do not automatically cover it with another layer. First determine what type of roofing membrane and sealant the RV uses. Different roof systems require compatible repair materials. An incompatible product may fail to bond correctly or damage the roofing membrane.
Proper surface preparation remains critical. Technicians typically remove loose or failed sealant, clean the bonding area, allow the surface to dry, and apply a compatible sealant according to the product manufacturer’s requirements. Contamination from dirt, oil, moisture, or degraded sealant can significantly reduce adhesion.
Fastener installation also affects waterproofing performance. Excessive tightening can distort the vent flange or damage the roof substrate. Insufficient clamping can allow movement. Proper fastener condition, flange contact, and sealant coverage help maintain a consistent waterproof barrier.
Inspect the vent again after severe weather or demanding travel, as these conditions can weaken seals and create hidden vulnerabilities. Regular RV roof maintenance in Michigan helps identify minor sealing defects before they develop into wet insulation, damaged decking, or costly structural deterioration. Prompt repairs can protect your camper and extend its service life.
- Inspect before and after major trips.
- Keep roof drainage paths unobstructed.
- Use roofing-compatible repair materials.
- Replace damaged vent components when necessary.
- Address leaks before storing the RV.
A technically sound repair focuses on the entire roof-vent interface rather than the visible symptom. Correct diagnosis, compatible materials, proper surface preparation, controlled installation, and follow-up inspection provide a much stronger defense against recurring leaks.
The Role of Professional Maintenance:
Professional maintenance helps protect your RV camper from problems caused by harsh weather and demanding travel. Technicians inspect roof vents, sealants, fasteners, and roofing membranes for cracks, gaps, movement, and early moisture intrusion.
They can identify weak sealing points before rain, UV exposure, freezing temperatures, or road vibration turns a minor defect into costly water damage. Proper surface preparation and compatible sealants also help create a durable waterproof barrier.
A thorough maintenance check reduces preventable failures and helps keep your RV reliable when the next travel season begins.
Conclusion:
Climate continuously attacks roof vent seals through UV radiation, temperature cycling, moisture, and freezing conditions. Travel adds vibration, torsional movement, impact, and aerodynamic loading. Together, these stresses can turn microscopic defects into active leak paths.
Regular inspection provides the first line of defense. Checking sealant adhesion, vent flanges, fasteners, drainage paths, and interior surfaces helps identify developing failures before water reaches sensitive roof components.
A technically correct repair requires more than adding caulk over a damaged joint. Proper diagnosis, surface prep, compatible materials, and precise installation restore waterproof integrity. For trusted service, call Nagel Trailer Repair—your RV roof expert in Michigan—to ensure lasting reliability. Schedule your inspection today!