Old EPDM camper roofs can hide leaks, trap moisture, and weaken the entire RV structure before you even notice the damage. Ignoring worn roofing material often leads to costly repairs, interior stains, and long-term water damage that can ruin your camping experience.
Many RV owners struggle to remove old EPDM roofing without damaging the roof deck underneath. From stubborn adhesive to hidden rot, the process can quickly become frustrating when you do not know the right tools, safety steps, or removal methods.
This guide, trusted by a camper roof expert in Michigan, shows you how to safely remove old EPDM material. Master preparation, removal, and inspection—then leave the new roof installation to pros for lasting protection and peace of mind.
Signs Your EPDM Camper Roof Needs Removal:
EPDM roofing can handle years of sun exposure, rain, road vibration, and seasonal temperature swings, but no rubber membrane lasts forever. Over time, ultraviolet radiation dries out the surface oils inside the membrane and causes the material to lose flexibility. Once the membrane starts shrinking or cracking, water can slowly move beneath the roofing layer and attack the plywood deck underneath.
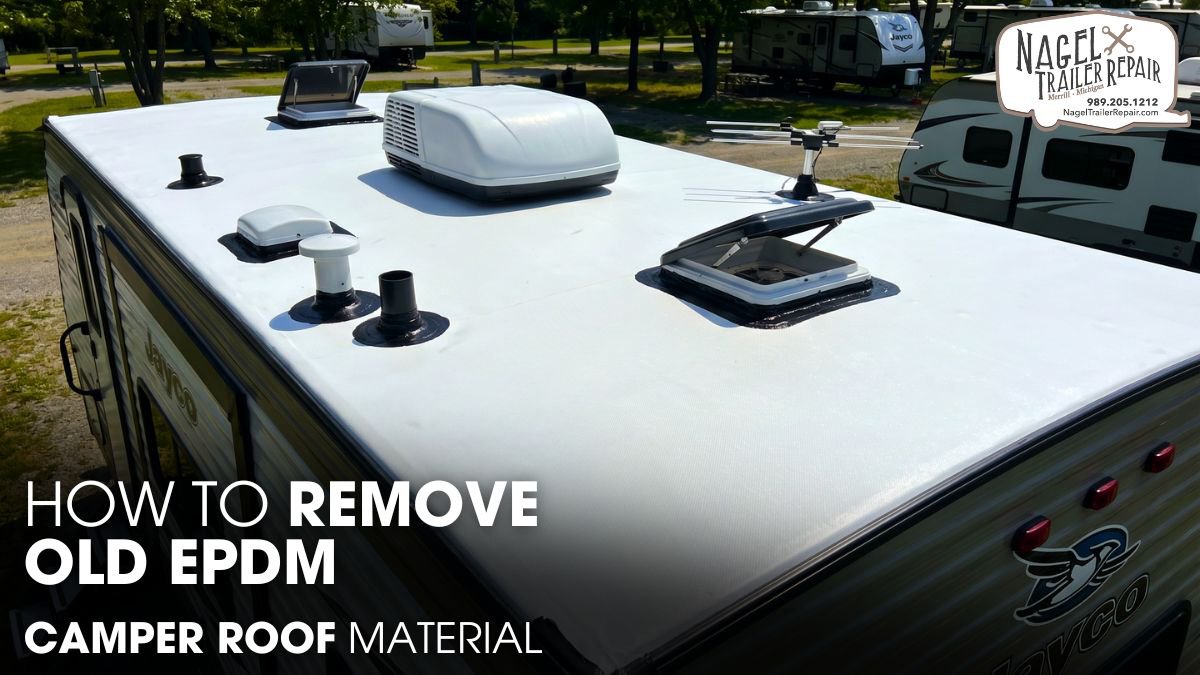
Most camper owners first notice problems around roof penetrations. Areas surrounding vents, skylights, plumbing stacks, antennas, and air conditioning units usually fail before the center section of the roof. These locations experience constant expansion and contraction as temperatures change, which places additional stress on the membrane and sealants.
Several warning signs indicate the roof needs complete removal instead of another temporary patch:
- Surface bubbling or blistering
- Chalky oxidation residue
- Cracked lap sealant
- Loose edge trim
- Soft roof decking
- Wrinkled membrane sections
- Persistent interior water stains
Soft spots across the roof often signal long-term moisture intrusion beneath the EPDM layer. Water rarely stays near the original leak source. It travels through insulation, wooden decking, and framing channels before showing visible interior damage. By the time stains appear on the ceiling, the substrate underneath may already contain rot, mold, or delaminated plywood.
Inspect the roof carefully after heavy storms or long winter storage periods. Small tears can quickly expand when highway wind pressure lifts weakened membrane sections during travel.
Tools and Safety Gear Needed:
Removing EPDM roofing requires precision, patience, and the right equipment. Most membranes bond directly to plywood decking using water-based or solvent-based adhesives. Older solvent adhesives usually create stronger bonds and demand more heat and scraping effort during removal.
Professional RV technicians rely on controlled membrane separation rather than brute force. Pulling aggressively can splinter the roof deck or damage laminated roof panels underneath. A sharp utility knife with hook blades helps cut the membrane safely without digging into the plywood surface.
Essential removal tools include:
- Utility knife with hook blades
- Heavy-duty floor scraper
- Oscillating multi-tool
- Heat gun with temperature control
- Plastic putty knives
- Pry bars and screwdrivers
- EPDM-safe adhesive remover
- Orbital sander
- Moisture meter
- Cordless drill
A heat gun plays a major role during adhesive separation. Applying controlled heat softens hardened adhesive and reduces stress on the roof substrate. However, excessive heat can damage fiberglass caps, wiring insulation, or plastic roof accessories, so steady movement remains critical throughout the process.
Safety equipment matters just as much as removal tools. Old camper roofs often contain mold spores, sharp fasteners, oxidized rubber particles, and chemical residue from previous repair products.
Always wear:
- Slip-resistant boots
- Cut-resistant gloves
- Respirator mask
- Safety goggles
- Knee pads
- Long sleeves
Set up the camper on stable ground before starting work. Install wheel chocks, disconnect electrical hookups, and secure ladders properly. Roof removal requires constant movement across elevated surfaces, so stability and traction should never be overlooked.
Preparing the Camper Roof:
Preparation determines how efficiently the removal process goes. Rushing into membrane removal without inspecting the roof structure first can create expensive problems later.
Start by removing all rooftop accessories attached through the membrane. EPDM roofing wraps tightly around vents, antennas, skylights, roof racks, plumbing vents, and air conditioning systems. Leaving these components installed increases the risk of tearing the membrane unevenly during removal.
Disconnect wiring connected to:
- Solar panels
- Satellite systems
- Roof lighting
- Air conditioners
- Backup cameras
Store screws and mounting hardware in labeled containers to simplify reinstallation later.
Next, clean the roof surface thoroughly. Dirt, oxidation residue, and loose debris can interfere with cutting and scraping operations. Sweep the roof carefully and wash contaminated areas using cleaners approved for EPDM roofing systems. Avoid petroleum-based products because they can weaken rubber surfaces and contaminate the substrate.
Inspect roof seams and edge molding closely before making cuts. Many older campers contain multiple repair layers from previous patch jobs. Roof tape, silicone sealants, and aftermarket coatings often create uneven bonding points that require additional scraping effort later.
Weather conditions also influence the removal process. Warm temperatures soften adhesive layers and make membrane separation easier. Cold weather stiffens the rubber and increases resistance during pulling. Dry conditions between 60 and 80 degrees Fahrenheit usually provide the best working environment.
Steps to Remove Old EPDM Roofing:
Begin the removal process by dividing the membrane into smaller sections. Long, continuous sheets create unnecessary resistance and make handling difficult. Most professional installers cut the membrane into strips roughly two to three feet wide for better control.
Use shallow cuts while slicing the membrane. Cutting too deeply can damage plywood decking, wiring channels, or insulation underneath.
Once the sections are cut, begin lifting material from a roof edge or seam. Older roofs sometimes peel easily because moisture has already weakened the adhesive bond. In well-bonded areas, apply heat gradually beneath the membrane to soften the adhesive layer.
Keep the heat gun moving continuously while pulling the membrane upward. Concentrated heat in one location can scorch plywood surfaces or damage fiberglass roof components. As the adhesive softens, slide a floor scraper beneath the membrane at a shallow angle.
During removal, you may uncover:
- Water-soaked insulation
- Rusted fasteners
- Mold growth
- Delaminated plywood
- Cracked roof framing
- Hardened adhesive buildup
Remove all leftover adhesive before installing new roofing material. Adhesive residue creates uneven surfaces that can trap air pockets beneath the replacement membrane. Uneven bonding weakens waterproof performance and shortens roof lifespan.
Plastic putty knives work well around delicate areas, while oscillating tools help remove stubborn buildup near seams and corners. Avoid aggressive grinding because excessive surface damage can weaken the roof deck.
After removing the membrane completely, inspect the substrate carefully using a moisture meter. Even slightly damp plywood can compromise adhesive curing and create future bubbling problems beneath the new roof system.
Repairing the Camper Roof Surface:
A new EPDM membrane performs only as well as the substrate underneath it. Installing fresh roofing over damaged decking usually leads to premature failure, trapped moisture, and structural instability.
Replace any rotted or delaminated plywood immediately. Use a circular saw adjusted to the correct depth and remove damaged sections carefully without cutting into support framing or wiring below the deck.
Install exterior-grade plywood that matches the original roof thickness. Secure replacement sections using corrosion-resistant screws designed for RV roofing applications. Standard drywall screws can rust quickly and weaken structural integrity over time.
After structural repairs, sand the roof surface thoroughly. Sanding removes:
- Remaining adhesive residue
- Raised plywood transitions
- Splinters and rough edges
- Sealant contamination
- Surface irregularities
A smooth deck improves adhesive coverage and prevents pressure points from forming beneath the new membrane.
Pay close attention to roof edges and seam transitions. Uneven surfaces near trim rails or vent openings can create stress points that eventually tear the membrane during highway movement or thermal expansion cycles.
Moisture control remains critical during this stage. Allow the roof deck to dry completely before moving forward. Trapped moisture beneath EPDM roofing can trigger mold growth, adhesive failure, and membrane blistering within a short time.
Professional installers often vacuum the roof surface after sanding to remove fine dust particles. Even minor debris can interfere with adhesive bonding strength and reduce long-term durability.
Preparing for New Roof Installation:
Once repairs are complete, prepare the roof carefully before installing the replacement membrane. Proper preparation directly affects waterproof performance, adhesive strength, and membrane longevity.
Most RV roofing systems use either water-based or solvent-based adhesives. Water-based adhesives work well on porous wooden decking and provide easier cleanup. Solvent-based products create stronger bonds in humid conditions and around vertical surfaces but require proper ventilation during application.
Before installation:
- Verify adhesive compatibility
- Measure roof dimensions carefully
- Inspect edge trim condition
- Confirm substrate dryness
- Test-fit the membrane
Unroll the new EPDM membrane across the roof and allow it to relax naturally for several hours. Shipping compression often creates folds and wrinkles that can interfere with smooth installation. Allowing the material to flatten reduces trapped air and improves alignment during bonding.
Leave several inches of overhang around all roof edges for trimming later. Stretching the membrane during installation creates tension points that may shrink or separate over time.
Before applying adhesive, perform one final inspection of the roof surface. Look for:
- Loose fasteners
- Dust contamination
- Sharp protrusions
- Moisture pockets
- Uneven decking transitions
Even small imperfections can shorten roof lifespan significantly. A clean, dry, and structurally stable substrate allows the new EPDM membrane to bond evenly and resist future damage from UV exposure, road vibration, standing water, and seasonal weather conditions.
The Role of Professional Maintenance:
Professional maintenance helps protect camper roofs from hidden moisture damage, weakened adhesives, and failing roof seams. Skilled technicians inspect the roof structure carefully and remove damaged roofing materials without harming the underlying deck or insulation.
Poor edge flashing often creates small gaps where water slowly travels beneath the roofing layer through capillary infiltration. Over time, this moisture weakens plywood decking, damages insulation, and causes mold growth inside the camper structure. Routine inspections help identify these vulnerable areas before major leaks develop.
Regular maintenance also improves the lifespan of sealants, flashing systems, and rubber roofing materials. Professionals can spot early signs of bubbling, membrane shrinkage, seam separation, and soft roof decking before the damage spreads across the entire roof system.
Conclusion:
Removing old EPDM camper roof material requires careful preparation, specialized tools, and close attention to structural damage beneath the membrane. While the process can be labor-intensive, proper removal prevents future leaks, improves roof performance, and protects the camper from long-term water intrusion.
By following professional removal methods and inspecting the deck, you create the ideal foundation for a new EPDM roof. As a camper roof expert in Michigan, Nagel Trailer Repair ensures your installation lasts for years. Secure your vehicle’s future and hit the road with total peace of mind.