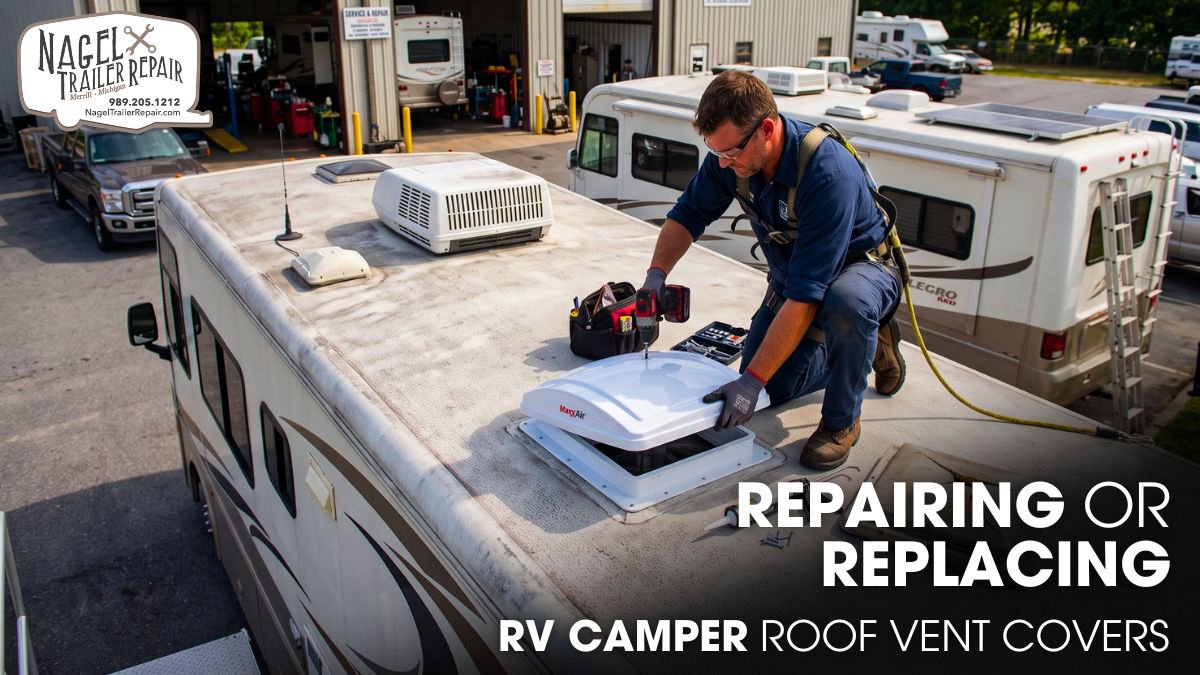
Your RV camper roof vent cover does more than improve airflow—it protects your interior from rain, debris, UV rays, and costly water damage. Even a small crack or loose hinge can quickly turn into leaks, mold, and expensive roof repairs if you ignore it.
Many Michigan RV owners struggle to decide whether to repair a damaged vent cover or replace it entirely. Choosing the wrong solution can waste money, shorten the vent’s lifespan, and leave your camper vulnerable to weather and road vibrations.
This guide empowers you to spot damage, weigh repair vs. replacement, master installation, and sustain vent covers. For professional care, consult an RV roof expert in Michigan—ensuring durable, leak-free results. Save money, avoid costly fixes, and protect your home-on-wheels with proactive, expert-backed strategies today.
Signs Your RV Roof Vent Cover Needs Attention:
Your RV roof vent cover works around the clock to protect the interior from rain, dust, insects, and road debris while allowing fresh air to circulate. Because it sits directly under harsh sunlight and changing weather conditions, it naturally wears faster than many other exterior components.
Most manufacturers build vent covers from UV-stabilized polypropylene or high-impact polyethylene, but years of ultraviolet exposure gradually reduce impact strength and make the plastic brittle. Constant vibration during travel also places stress on hinge pins and mounting holes, allowing tiny cracks to develop into larger fractures.
Ignoring early warning signs often leads to much bigger problems. A cracked vent cover can allow water to seep beneath the roof membrane, saturate insulation, weaken plywood decking, and create mold inside the ceiling cavity. These secondary repairs often cost far more than replacing a vent cover.
Watch for these warning signs:
- Fine cracks near hinges or corners
- Brittle or faded plastic surfaces
- Loose hinges or missing hardware
- Rattling noises while driving
- Water stains or damp ceiling panels
- Difficulty opening or closing the vent
Inspect your RV roof twice yearly and after hailstorms or heavy winds. Early damage detection prevents costly structural issues and protects ventilation. For professional care, contact a reliable RV roofing shop in Michigan—swift repairs extend your roof’s life and keep your travels safe. Act now!
Repair or Replace the Vent Cover?
The right solution depends on the condition of the vent cover rather than its age alone. Small surface cracks that have not affected the structural integrity can usually be repaired successfully with marine-grade epoxy or UV-resistant plastic repair compounds. Replacing worn crank handles, lift arms, or hinge pins also restores normal operation without replacing the complete assembly.
However, repairs have limits. If the plastic has become chalky, severely warped, or cracked in several locations, replacement provides a safer and longer-lasting solution. UV-damaged plastic loses much of its original tensile strength, making additional failures likely even after repairs. Replacing the cover eliminates that risk while restoring proper weather sealing and airflow.
From a financial standpoint, repairing minor damage typically requires only basic materials. Installing a new vent cover generally requires quality parts, while professional installation varies depending on roof height and vent type.
Spending slightly more on a premium UV-resistant cover often reduces maintenance costs over the next decade—yet for existing leaks or wear, RV roofing services in Michigan provide fast, skilled repairs that extend your roof’s life. Don’t wait until damage worsens; schedule a professional inspection today and safeguard your travels with durable, local expertise.
Replace the cover immediately if:
- Mounting tabs have broken
- Multiple cracks spread across the lid
- Hinges no longer support the cover
- Water leaks have already developed
- The cover has warped from heat exposure
Tools and Materials Needed:
Using the correct tools makes the job faster, safer, and far more reliable. Before starting, verify the dimensions of your existing vent because most RV roof vents measure 14 × 14 inches, although specialty models require different sizes. Selecting the correct replacement prevents alignment issues and unnecessary modifications.
Choose a self-leveling lap sealant that matches your roofing material, whether EPDM rubber, TPO, fiberglass, or aluminum. These sealants remain flexible during temperature changes and resist cracking caused by vibration. Stainless-steel screws outperform zinc-coated fasteners because they resist corrosion in wet or coastal environments.
Gather these essentials before beginning:
- Phillips screwdriver
- Socket wrench
- Plastic scraper
- Cordless drill
- Measuring tape
- Isopropyl alcohol for cleaning
- UV-resistant replacement cover
- Stainless-steel fasteners
- Self-leveling RV lap sealant
- Safety glasses and work gloves
Preparing everything in advance minimizes installation time and reduces contamination risks—especially critical for RV roof repairs in Michigan, where weather shifts fast. Stay ahead, protect your rig, and seal with confidence. Choose proven local experts for lasting protection.
Step-by-Step Repair Process:
Successful repairs begin with a careful inspection rather than immediately applying adhesive. Remove the vent screen and operating hardware to expose every damaged section. Clean away old sealant and dirt using a plastic scraper to avoid damaging the roof membrane.
Examine the vent flange for hidden fractures because impacts from branches or hail often damage both the cover and its supporting frame. Clean cracked areas thoroughly before applying epoxy. Oils, oxidation, or moisture reduce adhesion and shorten repair life.
For larger cracks, reinforce the repair with fiberglass mesh embedded in the adhesive to increase structural strength. Allow the repair compound to cure fully according to the manufacturer’s instructions before reinstalling hardware.
After completing the repair:
- Check hinge alignment carefully.
- Lubricate moving joints with silicone lubricant.
- Tighten hardware evenly.
- Apply fresh sealant where needed.
- Open and close the vent several times.
- Perform a water test to confirm a leak-free seal.
Never rush RV vent adhesive curing—uncured bonds crack with road vibration. For lasting protection, rely on an RV roofing expert in Michigan who ensures proper drying, seals every edge, and prevents costly leaks. Schedule your repair today for worry-free travel ahead.
How to Replace Roof Vent Covers?
Replacing a damaged vent cover remains a straightforward project when completed methodically. Begin by removing hinge pins or mounting brackets while supporting the lid to prevent additional damage.
After removing the old cover, inspect the roof flange, surrounding sealant, and plywood substrate for signs of moisture intrusion or delamination. Repairing hidden damage before installing the new cover prevents recurring leaks.
Position the replacement cover according to the manufacturer’s specifications and verify that the hinges move freely before tightening fasteners. Overtightening screws can distort the flange and reduce sealing performance. Once installation is complete, apply fresh self-leveling lap sealant around all exposed fasteners and disturbed sealant areas.
Finish by spraying water over the vent for minutes while checking inside for leaks. This final test ensures weathertightness—yet if you spot issues, searching “RV roof repair near me” connects you with pros who seal it right, so your next adventure stays dry and stress-free.
RV Roof Vent Covers Maintenance Tips:
Routine maintenance dramatically extends the service life of any RV roof vent cover. Inspect roof components every spring and fall, remove leaves and debris after each trip, and clean the plastic using mild soap instead of petroleum-based cleaners that accelerate material degradation. Annual lubrication of hinges and operating mechanisms also reduces wear caused by constant movement.
Premium vent covers manufactured with advanced UV inhibitors and impact-resistant polymers commonly last eight to twelve years under normal conditions. Although these models cost more initially, they withstand weather exposure far better than economy products and reduce long-term replacement expenses.
For maximum service life:
- Inspect after every severe storm.
- Replace cracked sealant immediately.
- Tighten loose hardware annually.
- Keep the roof clean and dry.
- Store the RV under cover whenever possible.
- Replace damaged components before leaks develop.
Consistent maintenance costs very little compared with repairing water-damaged roof structures, insulation, or interior cabinetry. For RV roof maintenance in Michigan, seasonal checks prevent costly surprises—protect your home on wheels now, before leaks ruin your next adventure. Act today.
The Role of Professional Maintenance:
Professional maintenance goes far beyond fixing visible damage. Experienced RV technicians inspect roof components, seals, fasteners, ventilation systems, and interior fixtures to identify hidden issues before they become costly repairs.
They use manufacturer-approved materials, compatible sealants, and proper installation techniques to ensure every repair withstands vibration, moisture, and changing weather conditions. Their expertise also helps extend the service life of critical components while improving safety, comfort, and long-term reliability.
Routine professional servicing also creates opportunities to improve your RV’s functionality and appearance. Experts can recommend durable materials, optimize storage solutions, upgrade lighting, refresh cabinetry, improve ventilation, and install modern interior accessories without affecting structural integrity.
Combining preventive maintenance with thoughtful upgrades keeps your RV efficient, comfortable, and personalized, allowing you to enjoy every journey with greater confidence while protecting the value of your investment.
Conclusion
A roof vent cover may seem like a small component, but it plays a major role in protecting your RV from water damage, heat, and road debris. Regular inspections and timely repairs help prevent expensive structural problems before they begin.
Choose repairs only when the cover remains structurally sound. If cracks, warping, or UV damage weaken the material, replacing the cover delivers better long-term reliability and weather protection.
Using quality materials, compatible sealants, and proper installation techniques keeps your ventilation system performing efficiently for years. Yet, even with care, wear happens—that’s when Nagel Trailer Repair- a trusted RV roof expert in Michigan make the difference.
A few hours of preventive maintenance today can save substantial repair costs and extend the life of your RV roof. Don’t wait for leaks; call the pros who protect your investment with skill you can count on.