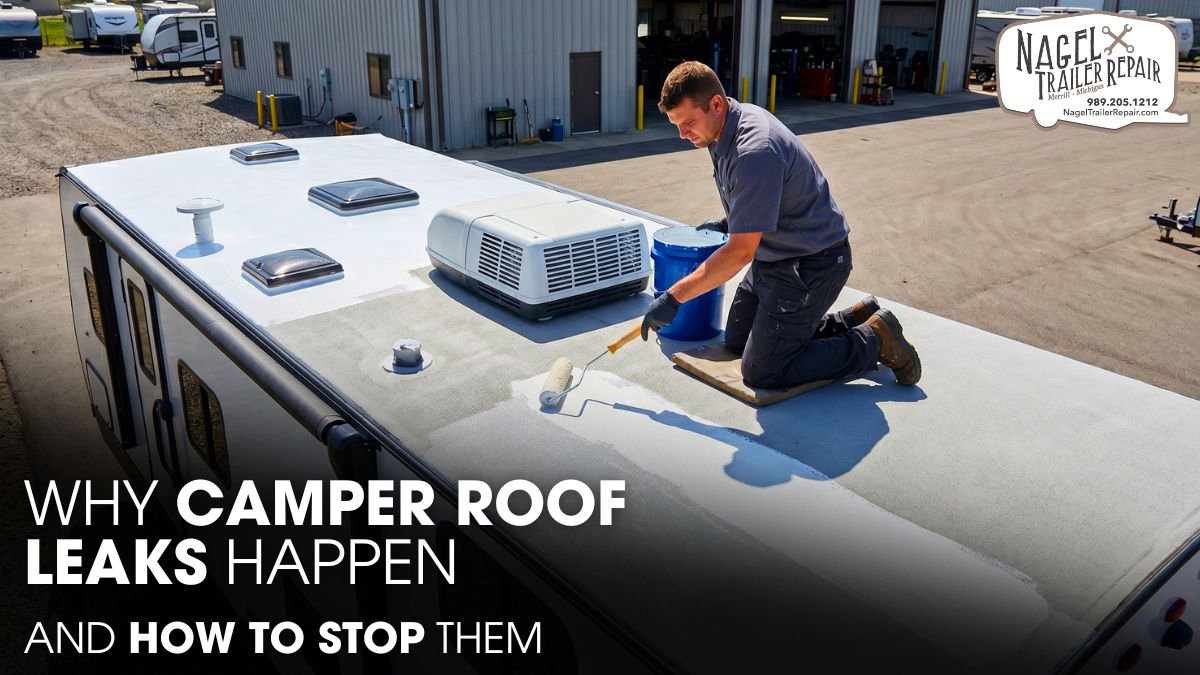
A small drip from your camper roof can quickly turn a relaxing trip into a costly repair project. Water damage often hides behind walls, under flooring, and inside insulation, creating problems that grow long before you notice them. That’s why roof leaks rank among the most frustrating issues camper owners face.
Many leaks start from worn sealants, damaged seams, weather exposure, or neglected maintenance. Unfortunately, even a tiny opening can allow moisture to enter and weaken your camper over time.
In this guide, you’ll learn why camper roof leaks happen, where they commonly start, and how to stop them. Trust a camper roof expert in Michigan for lasting fixes. With smart inspections and care, you’ll avoid costly damage and enjoy worry-free travel—because your adventure deserves solid protection.
Understanding Camper Roof Leaks:
Many camper owners assume a roof leak begins when they notice water dripping from the ceiling. In reality, leaks often start weeks or even months before any visible signs appear. A camper roof is much more than a protective covering. It is a complete weatherproofing system made up of roofing membranes, sealants, adhesives, fasteners, vents, skylights, edge moldings, and structural roof decking. Every one of these components must work together to keep moisture out.
Unlike residential roofs, camper roofs constantly face movement. Every trip subjects the roof to vibrations, twisting forces, and structural flexing. At the same time, temperature changes cause roofing materials to expand during the day and contract at night. This repeated movement gradually stresses seams, sealants, and attachment points.
One reason camper roof leaks become difficult to diagnose is water migration. Water rarely drips directly below the point where it enters. Instead, it can travel along wooden framing, electrical wiring, insulation layers, or roof decking before becoming visible inside the camper. By the time a stain appears on the ceiling, the leak may have already caused hidden damage elsewhere.
Even small leaks can create major problems over time. Moisture trapped inside the roof structure can weaken plywood decking, reduce insulation efficiency, corrode metal components, and encourage mold growth. Understanding how camper roofs function helps owners detect issues early and prevent costly structural repairs.
Causes of Camper Roof Leaks:
Most camper roof leaks develop gradually rather than appearing suddenly. One of the most common causes is sealant failure. Roof sealants create flexible, waterproof barriers around vents, skylights, air-conditioning units, antennas, and roof seams. However, years of exposure to sunlight, rain, wind, and changing temperatures eventually reduce their flexibility and bonding strength.
As sealants age, they may crack, shrink, separate from surfaces, or lose adhesion altogether. Once this protective barrier breaks down, water can penetrate beneath the roofing system and reach structural components.
Roofing materials themselves also deteriorate over time. Different roof types experience different forms of wear:
- EPDM rubber roofs can oxidize and shrink.
- TPO membranes may experience seam stress and surface degradation.
- Fiberglass roofs can develop stress fractures from vibration and thermal movement.
- Aluminum roofs may corrode around fasteners and joints.
Environmental conditions accelerate these aging processes. Ultraviolet radiation continuously breaks down roofing materials at a molecular level. Heavy rain exposes weaknesses in waterproofing systems, while hail and wind-driven debris can create punctures that often go unnoticed during routine inspections.
Additional factors that commonly contribute to leaks include:
- Improper installation of rooftop accessories
- Loose mounting hardware
- Failed roof coatings
- Damage from tree branches
- Excessive roof loads
- Inadequate drainage systems
Standing water poses a particularly serious threat. Although camper roofs are designed with slight slopes to encourage drainage, debris can block water pathways and create low spots where water accumulates. Prolonged exposure to standing water increases the risk of sealant deterioration and membrane failure.
High-Risk Areas for Water Entry:
Not all sections of a camper roof carry the same leak risk. Most leaks occur at transitions, seams, and penetrations rather than through the main roofing membrane itself.
Air-conditioning units represent one of the most common sources of roof leaks. These units require large roof openings and rely on compression gaskets to maintain a watertight seal. Over time, vibration, weather exposure, and aging can reduce gasket effectiveness and create opportunities for water intrusion.
Skylights and roof vents create similar challenges. Because these components often expand and contract at different rates than the surrounding roofing material, they place additional stress on sealants and fasteners.
Roof seams also require close attention. Manufacturers join roofing materials using adhesives, tapes, or mechanical fastening systems. Continuous movement during travel can weaken these connections. Once a seam begins to separate, water can migrate beneath the roofing membrane and spread across large sections of roof decking.
Other high-risk leak locations include:
- Front and rear roof caps
- Roof-to-sidewall joints
- Solar panel mounting brackets
- Satellite dish mounts
- Antenna bases
- Roof rack attachment points
- Ladder mounting hardware
Edge moldings frequently become overlooked sources of water intrusion. These components protect roof perimeters and conceal fasteners, but aging sealants beneath the moldings can allow water to enter hidden structural cavities. Because these leaks often remain concealed, they can cause significant damage before becoming noticeable.
How to Inspect for Roof Leaks?
Routine inspections remain one of the most effective ways to prevent expensive repairs. Waiting until water becomes visible inside the camper often means the damage has already progressed.
Begin by performing a thorough visual inspection of the roof surface. Look for signs of deterioration such as cracked sealants, lifted seams, membrane shrinkage, punctures, bubbling, discoloration, or loose fasteners. Pay particular attention to areas surrounding roof penetrations because these locations experience the greatest amount of stress.
Inside the camper, inspect ceilings, walls, storage compartments, cabinets, and corners for signs of moisture. Water stains, peeling finishes, warped materials, and musty odors frequently indicate hidden leaks.
Professional RV inspectors often rely on moisture meters to detect water intrusion before visible damage appears. These devices measure moisture levels within building materials and help identify wet areas hidden beneath finished surfaces.
A comprehensive inspection should include:
- Roofing membrane evaluation
- Seam integrity assessment
- Sealant condition checks
- Roof penetration inspection
- Interior moisture testing
- Structural decking examination
For more advanced diagnostics, infrared thermography can help locate hidden moisture. Thermal imaging cameras detect temperature differences caused by water accumulation beneath roofing materials. Because wet materials retain heat differently than dry materials, technicians can identify concealed leak paths without removing roof components.
Water testing can also help pinpoint difficult leaks. During this process, one person applies water systematically to specific roof sections while another monitors the interior. Testing one area at a time makes it easier to identify the exact point of water entry.
Preventing Future Roof Leaks:
Preventive maintenance remains the most effective strategy for avoiding roof leaks. Most major roofing failures begin as small, manageable issues that could have been corrected with routine maintenance.
Regular roof cleaning plays a critical role in roof protection. Leaves, dirt, branches, and organic debris trap moisture against roofing materials and accelerate deterioration. Debris can also obstruct drainage channels and contribute to standing water problems.
A well-planned maintenance routine should include:
- Routine roof inspections
- Cleaning of roofing surfaces
- Inspection of sealants and seams
- Verification of fastener security
- Evaluation of protective roof coatings
- Removal of drainage obstructions
Sealant maintenance deserves special attention because sealants form the primary waterproof barrier around roof penetrations. Replacing cracked or deteriorated sealants before they fail completely can prevent extensive water damage and expensive repairs.
Ultraviolet protection can significantly extend roof life. Constant exposure to sunlight gradually breaks down roofing polymers and reduces material flexibility. Applying manufacturer-approved UV-resistant coatings can slow this deterioration and improve long-term roof performance.
Proper storage practices also help protect the roof. Whenever possible, store the camper under a covered structure or use a high-quality RV cover designed to reduce exposure to sunlight, rain, snow, and environmental contaminants.
Limiting unnecessary foot traffic on the roof provides another layer of protection. Excessive walking can damage roofing membranes, weaken seams, and increase the likelihood of punctures or sealant failures.
Camper Roof Repair Solutions:
Successful roof repairs start with accurate leak diagnosis. Simply sealing a visible crack may not solve the problem if water enters elsewhere and travels through hidden pathways before becoming visible.
Minor punctures and membrane defects can often be repaired using manufacturer-approved patch systems. Effective repairs require proper surface preparation, compatible adhesives, and correct installation techniques. Skipping any of these steps can reduce repair durability and increase the risk of future failures.
Sealant replacement remains one of the most common roof repair procedures. Technicians remove deteriorated material, thoroughly clean the surface, and apply new sealants designed specifically for the roofing system. Using incompatible products can lead to poor adhesion and premature failure.
More extensive repairs may involve:
- Replacing damaged roof decking
- Removing water-soaked insulation
- Repairing structural framing
- Replacing sections of roofing membrane
- Restoring roof coatings
- Rebuilding severely damaged roof assemblies
Long-term water intrusion can also cause delamination. This condition occurs when bonded layers within the roof structure separate due to moisture exposure. Delamination weakens structural integrity and creates additional pathways for water movement.
When damage becomes widespread, complete roof replacement may offer the most practical long-term solution. Although replacement requires a larger upfront investment, it eliminates chronic leak issues and restores the roof’s ability to withstand environmental stress.
Professional assistance becomes especially valuable when dealing with structural damage, recurring leaks, or hidden moisture. Experienced RV technicians use moisture meters, thermal imaging equipment, and specialized diagnostic tools to locate problems that are often impossible to identify through visual inspection alone.
The Role of Professional Maintenance:
Professional maintenance plays a critical role in protecting an RV from costly water damage and premature roof failure. While routine inspections help identify obvious issues, trained technicians can detect hidden problems that often go unnoticed.
They use specialized tools such as moisture meters, thermal imaging cameras, and sealant inspection techniques to locate vulnerable areas before leaks develop. Professional service also ensures that roof seams, vents, skylights, and mounting points receive the correct sealants and repair materials for long-lasting protection.
In addition, experts can identify membrane wear, fastener issues, and structural concerns that may compromise the roof’s waterproofing system. Regular professional maintenance not only extends roof life but also helps prevent unexpected repairs, preserves structural integrity, and gives RV owners greater confidence during travel and storage.
Conclusion:
Camper roof leaks rarely occur without warning. Aging materials, deteriorated sealants, weather exposure, and neglected maintenance are the primary causes of water intrusion. Understanding where leaks originate and conducting regular inspections can prevent costly structural damage and extend the life of your camper.
A proactive approach—routine cleaning, sealant checks, and moisture monitoring—stops leaks before they start. But when damage appears, trust Nagel Trailer Repair, your camper roof expert in Michigan, for fast, lasting fixes. Our experts spot hidden weak areas, apply professional-grade seals, and restore full protection.
Don’t wait until water ruins your interior. Small repairs today save thousands tomorrow. Stay structural, stay adventurous—call the pros who keep Michigan campers dry and road-ready year-round.