Standing on your camper roof should feel solid, not risky. Imagine turning that unused space into a sturdy, walkable surface you can trust—perfect for relaxing, loading gear, or enjoying better views on the road.
Most standard camper roofs aren’t built for foot traffic. They flex, crack, or leak under pressure, leaving you worried about damage, costly repairs, and safety hazards every time you climb up.
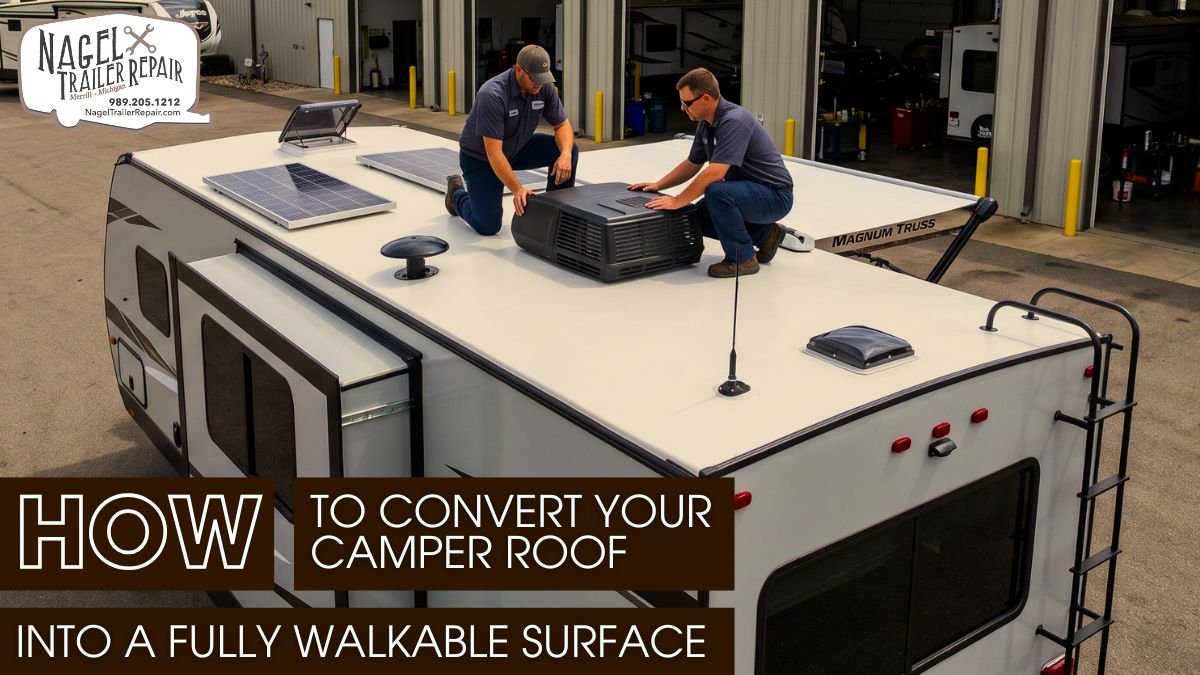
This guide shows you how to convert your camper roof into a walkable surface. For lasting results, professional camper roof sealing in Michigan is vital to prevent leaks and maximize durability. Upgrade with confidence and protect your unit!
Why Make Your Camper Roof Walkable?
When you turn your camper roof into a walkable surface, you unlock a layer of usability most owners ignore. Instead of treating the roof as a fragile shell, you start using it as a functional extension of your living space. You can move confidently while cleaning solar panels, adjusting rooftop gear, or simply enjoying an elevated view at your campsite.
From a structural perspective, a properly reinforced roof doesn’t just support weight—it distributes it. That distinction matters. A typical camper roof fails not because of total weight, but because of concentrated pressure. By converting the roof into a load-spreading platform, you reduce stress on any single point and improve overall durability.
You also gain efficiency during travel. You won’t need to balance on ladders or reach awkward angles to secure gear. Everything becomes more accessible and safer to manage.
Some practical advantages include:
- You can safely mount and service solar panels
- You improve rooftop cargo handling efficiency
- You create a stable surface for maintenance tasks
- You reduce the risk of accidental roof damage
A walkable roof essentially adds a new usable plane to your camper without increasing its footprint. When designed correctly, it enhances both function and safety.
Check Camper Roof Structure First:
Before you start adding materials, you need to understand what your existing roof can handle. Most camper roofs rely on lightweight sandwich construction. Manufacturers design them to minimize weight, not to support human loads. That means the outer skin—whether aluminum, fiberglass, or membrane—offers very little structural strength on its own.
You need to evaluate how your roof behaves under load. Step lightly and observe deflection. If the surface flexes noticeably, that signals insufficient stiffness. Even small deflections can lead to long-term fatigue, which eventually causes cracks or leaks.
You should also inspect the internal structure. Many roofs include ribs or spars spaced widely apart. These elements define your load paths. If they are too far apart, the roof cannot distribute weight effectively.
Pay close attention to vulnerable areas:
- Openings for vents, skylights, and AC units
- Edges where panels meet sidewalls
- Previously repaired or patched sections
- Areas showing soft spots or delamination
You should think in terms of engineering limits. A typical camper roof might tolerate distributed loads, but a person standing creates a high-pressure point. If you don’t reinforce the structure, that pressure can exceed material limits and cause failure.
If you notice excessive flex, weak bonding, or thin substrates, you must reinforce before proceeding. Skipping this step almost guarantees long-term damage.
Choose the Right Materials:
Material selection plays a critical role in how your walkable roof performs over time. You need materials that provide strength without adding unnecessary weight. At the same time, they must resist moisture, UV exposure, and thermal expansion.
Marine-grade plywood remains a reliable option because it offers excellent compressive strength and holds fasteners well. However, it absorbs moisture if left untreated. You must seal it completely using epoxy or polyurethane coatings to prevent rot and swelling.
If you want a more advanced solution, consider aluminum composite panels or honeycomb cores. These materials provide high stiffness with minimal weight. They resist corrosion and maintain structural integrity under temperature changes. However, they require precise cutting and careful fastening.
Surface treatment matters just as much as the base material. A smooth surface becomes dangerous when wet. You need a durable anti-slip finish that maintains traction in all conditions.
When selecting materials, keep these points in mind:
- Use stainless steel fasteners to avoid corrosion
- Choose UV-resistant coatings for long-term durability
- Apply butyl tape at joints for reliable sealing
- Use flexible adhesives that handle thermal movement
You also need to account for expansion and contraction. Different materials expand at different rates, especially under sun exposure. If you don’t allow for movement, you risk cracking or delamination over time.
Reinforce the Roof Frame:
Reinforcement is where your project shifts from cosmetic upgrade to structural modification. You cannot rely on the existing roof skin to carry loads. Instead, you need to build a support framework that transfers weight into the camper’s structural elements.
Start by installing crossmembers across the roof. These supports act like beams, distributing loads across a wider area. Spacing them between 300 and 400 mm works well for most setups, as it limits deflection while keeping weight manageable.
You should anchor these supports into solid structural points. Avoid attaching them only to the outer skin. Instead, tie them into ribs, sidewalls, or internal framing. If necessary, use through-bolting with backing plates to spread the load.
Adhesives play a major role here. Structural adhesives help distribute stress evenly and reduce reliance on fasteners alone. When combined with mechanical fastening, they create a hybrid system that improves durability.
Important reinforcement practices include:
- Maintain consistent spacing between supports
- Use backing plates to prevent stress concentration
- Isolate dissimilar metals to avoid corrosion
- Ensure all connections remain secure under vibration
You also need to preserve the roof’s ability to shed water. A completely flat surface can trap moisture, which leads to long-term damage. Slight curvature or drainage paths help maintain waterproof performance.
Install Walkable Surface:
Once your support structure is in place, you can install the walkable deck. This stage requires precision because mistakes here affect both strength and waterproofing.
Begin by measuring and templating the roof carefully. Account for every obstruction, including vents and equipment mounts. Cut your panels with small gaps to allow for expansion. These gaps prevent stress buildup when temperatures change.
Before bonding anything, perform a dry fit. This step helps you confirm alignment and identify potential issues. Once everything fits correctly, apply adhesive along the support members and place the panels.
You should apply even pressure across the surface to ensure proper bonding. Mechanical fasteners add extra security, especially in high-stress areas. However, you must seal every penetration to prevent leaks.
During installation, focus on these details:
- Apply adhesive evenly to avoid weak spots
- Use consistent fastener spacing for uniform strength
- Seal all edges and joints thoroughly
- Avoid over-tightening, which can deform panels
After securing the deck, apply the anti-slip coating. Proper surface preparation is essential. Clean and lightly abrade the surface to improve adhesion. Then apply the coating evenly to achieve a consistent texture and thickness.
Safety and Maintenance Tips:
Even the best-built walkable roof requires regular maintenance. Environmental exposure, vibration, and repeated use all contribute to wear over time. If you ignore small issues, they can develop into serious problems.
You should inspect your roof periodically. Look for early signs of failure, such as cracked coatings, loose fasteners, or degraded sealant. Addressing these issues early prevents water intrusion and structural damage.
Routine maintenance should include:
- Checking seals and reapplying where needed
- Cleaning the surface to maintain grip
- Inspecting fasteners for loosening or corrosion
- Monitoring for signs of delamination or flex
You also need to respect load limits. Even reinforced roofs have design constraints. Avoid placing heavy loads in small areas, and distribute weight as evenly as possible.
Environmental conditions also matter. Prolonged exposure to sun, rain, and temperature changes affects materials differently. Regular cleaning and protective treatments help extend the lifespan of your roof.
The Role of Professional Maintenance:
Professional maintenance plays a critical role in keeping your camper roof safe, durable, and truly functional. When you reinforce a roof for walkability, precise load distribution, sealing, and fastening matter more than they appear. A trained technician can spot structural weaknesses, ensure proper bonding, and prevent long-term damage caused by poor installation.
Routine expert inspections also help catch hidden leaks before they spread. Professionals use systematic checks to identify micro-cracks, sealant failure, and moisture intrusion that often go unnoticed. Their experience allows them to fix issues early, preserving both the roof structure and interior. Investing in professional care reduces costly repairs and keeps your camper reliable on every journey.
Conclusion:
A fully walkable camper roof delivers more than convenience—it adds structural utility and expands how you use your vehicle. By engineering the system correctly, you convert unused space into a safe, load-bearing platform.
Focus on fundamentals: verify load paths, reinforce with proper spacing, and choose materials that balance strength, weight, and weather resistance. Precision in sealing and fastening determines long-term durability.
Treat the roof as a system requiring periodic care. For peak protection, professional camper roof sealing in Michigan ensures your rig stays dry. Maintain seals, monitor loads, and let Nagel Trailer Repair address wear early. Investing in quality service keeps your upgrade reliable for years, motivating every traveler to prioritize a leak-free journey.