A tiny crack in your camper roof can turn into a costly disaster overnight. Water seeps in silently, damaging insulation, weakening structures, and inviting mold before you even notice. If you rely on your RV for travel or business, even a minor leak can disrupt your plans and lead to expensive repairs.
Most camper owners miss early warning signs because leaks often hide beneath seams, vents, or worn sealants. By the time stains or odors appear inside, the damage has already spread. Without a proper inspection process, you risk overlooking critical problem areas that continue to worsen.
Stop leaks before they start! This guide covers every step of a DIY inspection, but for lasting protection against harsh Great Lakes weather, professional camper roof sealing in Michigan ensures your investment stays dry, safe, and road-ready.
Importance of Camper Roof Leak Inspection:
Your camper roof does more than just keep rain out—it acts as a layered protective system that constantly handles UV exposure, vibration, and temperature swings. Most roofs use EPDM rubber, TPO, or fiberglass membranes mounted over insulation and a wooden or composite deck. As you drive, that entire structure flexes slightly, and over time, those movements create stress points where leaks begin.
Once water gets past the outer membrane, it doesn’t stay in one place. It travels through insulation and along structural seams using capillary action. This is why a small crack near a vent can eventually cause damage several feet away. You might only notice the problem when the ceiling stains—but by then, the internal damage is already advanced.
Ignoring early signs can lead to serious technical failures. Moisture weakens plywood decking, loosens adhesives, and reduces insulation efficiency. In severe cases, it can reach wiring systems and create electrical risks.
What actually happens when leaks go unchecked:
- Structural decking begins to rot and lose load strength
- Insulation absorbs water and loses thermal resistance
- Mold colonies develop in hidden cavities
- Metal fasteners corrode and loosen over time
- Electrical wiring becomes vulnerable to short circuits
When you inspect your roof regularly, you interrupt this chain reaction early. That single habit can save thousands in repairs and extend the service life of your RV significantly.
Tools Needed for Inspection:
A proper inspection is not guesswork—you need the right tools to see what your eyes can’t. Many leaks remain invisible until they cause visible damage, so relying only on visual checks is not enough.
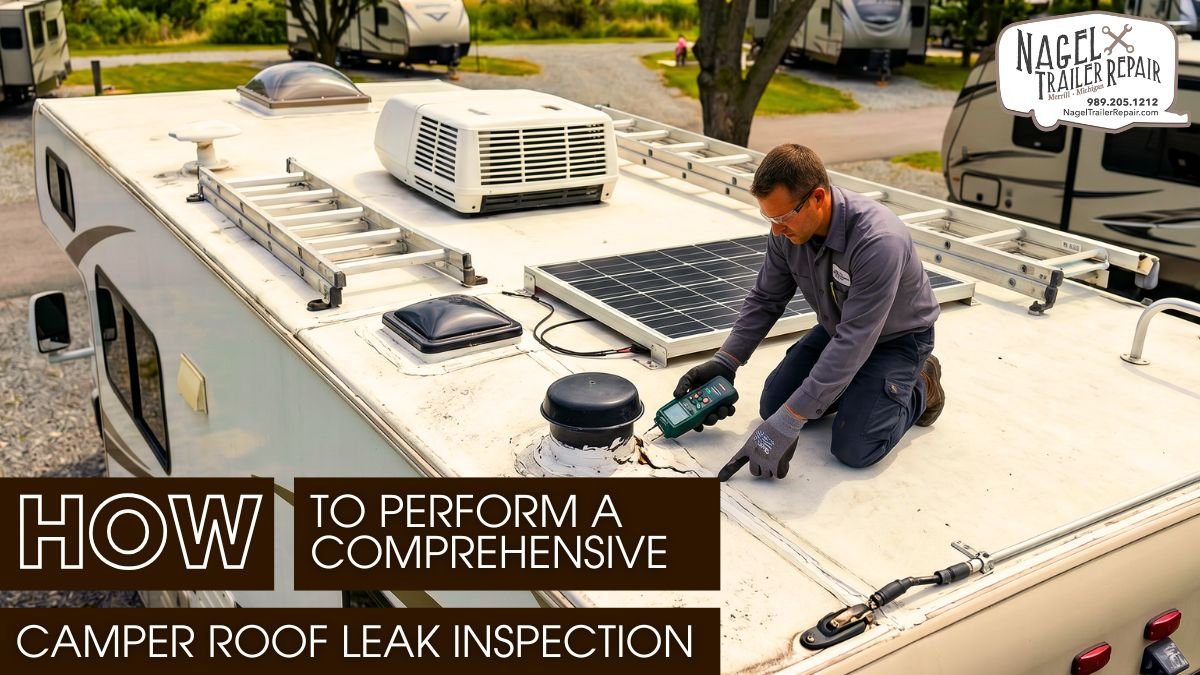
A moisture meter is one of the most valuable tools you can use. It measures the moisture content inside materials like wood and insulation, helping you detect hidden water before it spreads. For more advanced diagnostics, thermal imaging cameras identify cold spots where moisture has accumulated, giving you a clear map of affected areas.
You should also carry simple but effective tools like a plastic probe to test surface integrity without damaging the membrane. A high-lumen flashlight helps you inspect tight corners and shaded areas where cracks and sealant gaps often hide.
Essential inspection tools you should have:
- Moisture meter for internal water detection
- Infrared camera for thermal leak mapping
- Soft probe for checking substrate firmness
- Sealant inspection tool for joint evaluation
- Stable ladder with support arms
- Marking chalk to track inspected areas
Safety matters just as much as accuracy. Camper roofs can become extremely slippery due to oxidation or moisture, especially on rubber membranes. You need to stay stable and controlled at all times.
Basic safety practices to follow:
- Wear non-slip footwear with strong grip
- Use gloves to avoid cuts from sharp edges
- Avoid stepping near unsupported sections
- Inspect only in dry, well-lit conditions
- Use fall protection for larger RVs
When you combine the right tools with safe practices, your inspection becomes both precise and reliable.
Exterior Roof Inspection Steps:
Start your inspection by cleaning the roof surface. Dirt, leaves, and debris can hide cracks and prevent you from seeing sealant failures clearly. Once the surface is clean, you can begin a structured inspection from front to back.
Focus first on the membrane itself. Look for UV damage, chalking, blistering, or shrinkage. EPDM roofs often leave a white residue when oxidized, while TPO surfaces may show fine cracks along stress zones. Fiberglass roofs can develop hairline fractures that expand with temperature changes.
Next, move to seams and joints. These areas experience constant expansion and contraction, making them the most common failure points. Even a small separation in a seam can allow water to enter and spread underneath the membrane.
Roof penetrations require extra attention. Vents, skylights, and AC units depend on sealants and gaskets that degrade over time. Check for hardened, cracked, or pulling sealant edges. If the sealant has lost flexibility, it can no longer maintain a watertight seal.
As you walk the roof, pay attention to how it feels. A solid roof should feel firm underfoot. Any soft or spongy area usually indicates moisture damage below the surface.
Key areas to evaluate during exterior inspection:
- Membrane surface condition and elasticity
- Seam bonding and adhesive integrity
- Sealant flexibility around penetrations
- Mounting points of roof accessories
- Surface punctures or abrasion marks
- Soft spots indicating hidden water damage
If you suspect a leak but cannot locate it, perform a controlled water test. Spray small sections of the roof while someone checks inside. This method helps isolate the exact entry point without guesswork.
Interior Leak Detection Methods:
Interior inspection helps confirm whether water has already entered your camper. In many cases, the interior shows signs long after the leak has started, so you need to look closely and methodically.
Start with the ceiling. Look for discoloration, rippling, or bubbling. These changes occur when moisture weakens the adhesive layers behind the paneling. Even faint stains can indicate early-stage leaks.
Then move to walls, especially near corners and roof joints. Water rarely travels straight down—it follows structural paths, which means damage can appear far from the source. Check inside cabinets and storage compartments where moisture often accumulates unnoticed.
Your sense of smell is also a powerful diagnostic tool. A musty odor usually indicates mold growth, even if you cannot see it yet. Mold thrives in enclosed, damp environments and spreads quickly once established.
Physical testing provides further confirmation. Press gently on walls and ceiling panels. If they feel soft or give slightly, moisture has likely compromised the material.
Signs you should never ignore during interior inspection:
- Yellow or brown stains on ceiling panels
- Warped or bubbling wall surfaces
- Persistent musty or damp odors
- Soft or weakened structural panels
- Rust or corrosion on metal fixtures
- Condensation buildup in hidden areas
Using a moisture meter inside allows you to quantify the problem. Instead of guessing, you can identify exactly how far the moisture has spread and plan repairs accordingly.
Common Leak-Prone Areas:
Some parts of your camper roof are far more likely to leak than others. These areas experience constant stress, exposure, or movement, making them natural weak points.
Roof edges and trim rails are among the most vulnerable. These sections face direct exposure to rain, wind, and UV radiation. Over time, sealants here dry out and crack, allowing water to enter along the perimeter.
Air conditioning units and vents also create risk zones. Their gaskets compress over time, reducing their ability to seal tightly. Even a slight gap can allow water to seep in during heavy rain.
Accessories like antennas, solar panels, and roof racks add more penetration points. Each installation introduces additional sealant lines that require ongoing maintenance.
Sealant failure remains the leading cause of leaks. Temperature fluctuations cause sealants to expand and contract repeatedly, eventually leading to cracking or separation.
Areas you should always inspect closely:
- Roof perimeter and edge moldings
- Vent and skylight mounting flanges
- AC unit seals and bolt points
- Ladder mounts and rack brackets
- Antenna bases and cable entries
- Old repair patches and resealed joints
By focusing on these high-risk zones, you significantly improve your chances of catching leaks before they spread.
Preventive Roof Maintenance Tips:
Preventing leaks is always easier than repairing them. When you maintain your camper roof consistently, you reduce stress on materials and extend their lifespan.
Resealing is one of the most effective maintenance steps. Use compatible sealants and apply them to all seams and penetrations as needed. Proper surface preparation—cleaning and drying—is essential for strong adhesion.
Cleaning the roof regularly also plays a key role. Debris traps moisture and accelerates material breakdown. Organic matter like leaves can hold water against the membrane, increasing the risk of damage.
Routine inspections should become part of your schedule. Checking your roof twice a year—and after severe weather—helps you catch issues early and fix them before they escalate.
Practical maintenance steps to follow:
- Reapply sealant before cracks appear
- Clean roof using manufacturer-approved products
- Inspect after storms or long trips
- Tighten all roof-mounted components
- Apply UV protectant on rubber roofs
- Store your camper under cover when possible
A consistent maintenance routine transforms your roof from a weak point into a reliable protective system.
The Role of Professional Maintenance:
Even if you follow a detailed inspection routine, professional maintenance adds a level of precision that most DIY checks cannot match. Experienced technicians use advanced diagnostic tools like moisture mapping and infrared scanning to detect hidden leaks before they become visible problems. They also understand how different roofing materials behave under stress, allowing them to identify early-stage failures that are easy to miss during a standard inspection.
Many RV owners unknowingly make sealing errors—overapplying sealant, using incompatible products, or failing to prepare surfaces properly. These mistakes often trap moisture instead of preventing it. Professionals avoid these issues by using manufacturer-approved materials, applying sealants at the correct thickness, and ensuring proper adhesion.
By combining routine self-inspections with periodic professional servicing, you create a reliable defense system that protects your camper from long-term damage and costly repairs.
Conclusion:
A comprehensive camper roof leak inspection is not a one-time task—it is an ongoing discipline that protects your investment and ensures long-term durability. By understanding roof construction, identifying vulnerable areas, and using the right tools, you can detect issues before they escalate into major structural damage.
Consistency is what separates costly repairs from simple maintenance. When you inspect regularly, reseal on time, and address minor defects immediately, you prevent water intrusion from spreading and compromising critical components of your camper.
Investing in professional camper roof sealing in Michigan ensures your vehicle stays watertight. Ultimately, a proactive approach with Nagel Trailer Repair gives you control and peace of mind. You’ll extend your camper’s life and enjoy safer, hassle-free travel without costly repair setbacks.