Heavy snow and relentless rain can quickly turn your camper roof into a weak point. If you rely on your camper year-round, you need a structure that can handle harsh weather without sagging, leaking, or failing when conditions get extreme.
Many camper owners overlook roof strength until problems appear. Water pooling, hidden cracks, and excess weight can strain the frame, damage insulation, and lead to costly repairs that disrupt your travel plans and comfort.
This guide shows you how to reinforce your camper roof with reliable methods. For professional help, visit a camper roofing shop in Michigan to boost strength and drainage. Protect your investment now to keep your rig secure and weather-ready!
Assess Camper Roof Load Capacity:
Start by understanding what your camper roof can realistically handle. Most failures don’t happen because of one extreme event—they happen because the structure has been quietly overstressed over time. Snow, especially wet and compacted snow, adds significant weight. A few inches might seem harmless, but when density increases, the load multiplies quickly. If your roof cannot distribute that load evenly, it begins to sag, and that’s where problems start.
Take a close look at how your roof is built. Measure the spacing between rafters or trusses and identify whether they are made of wood, aluminum, or composite materials. Wider spacing usually means higher bending stress. Run a straightedge across the roof to spot low points. Even slight dips indicate long-term deformation. Also, check for soft spots underfoot—these often signal water intrusion or weakened decking.
Don’t ignore the joints. Roof seams, vents, and mounting points act like stress magnets. If they loosen or degrade, the entire structure becomes vulnerable. Use a moisture meter if possible, because water damage often hides beneath the surface.
- Check for sagging or uneven sections
- Inspect joints, seams, and penetrations
- Measure rafter spacing and material type
- Detect hidden moisture before reinforcing
When you fully understand the current condition, you can reinforce the roof intelligently instead of guessing and risking further damage.
Choose Reinforcement Materials:
The materials you choose will define how well your roof performs under pressure. You need to strike a balance between strength and weight because adding too much mass can create new problems for your camper’s frame and suspension.
Aluminum tubing is often the most practical option. It gives you strong structural support without adding excessive weight, and it resists corrosion even in humid or rainy conditions. Steel, on the other hand, offers greater strength but adds noticeable weight and requires protective coatings to prevent rust. If you go with steel, you must factor in long-term maintenance.
For the roof deck, marine-grade plywood works well because it handles moisture better than standard wood and maintains its shape under stress. Fiberglass-reinforced panels add stiffness and help distribute loads more evenly. Composite panels can take this even further by combining rigidity with insulation, though they require precise installation.
Waterproofing materials matter just as much as structural ones. EPDM membranes provide flexibility and long-term durability, while TPO and PVC offer better resistance to punctures and UV exposure.
- Aluminum for lightweight reinforcement
- Steel for high load-bearing strength
- Marine plywood for moisture resistance
- Composite panels for stiffness and insulation
Always make sure your materials work together. Poor compatibility between adhesives, coatings, and structural elements can lead to early failure.
Add Internal Support Frames:
Once you’ve selected the right materials, focus on strengthening the internal structure. This step does most of the heavy lifting when it comes to improving load capacity. By reducing the distance between supports, you minimize flex and prevent the roof from bowing under pressure.
Install cross members perpendicular to the existing rafters. This creates a grid system that spreads weight more evenly across the entire roof. Keep spacing consistent—usually between 12 and 16 inches on center—to avoid uneven stress distribution. Secure each connection with stainless steel brackets and high-strength fasteners to ensure long-term stability.
Don’t just attach supports to the roof surface. Tie them into the camper’s main frame or wall studs so the load transfers downward instead of staying concentrated on the roof. In areas that face heavy snow loads, consider adding vertical supports that act like columns, directing weight into stronger structural zones below.
- Add cross beams to reduce span length
- Anchor supports into main structural members
- Use corrosion-resistant hardware
- Create clear load paths for weight transfer
When installed correctly, internal framing transforms a flexible roof into a rigid, load-bearing structure.
Strengthen Roof Exterior:
Your roof’s outer layer plays a bigger role than you might expect. A stronger exterior reduces flex, which protects seals, joints, and internal components. Think of it as adding a protective shell that works together with the internal frame.
Start by preparing the surface properly. Clean it thoroughly, remove old sealant, and sand it to improve adhesion. Then apply a rigid overlay such as fiberglass sheets or thin aluminum panels. These materials help spread loads across a wider area, reducing pressure on individual points.
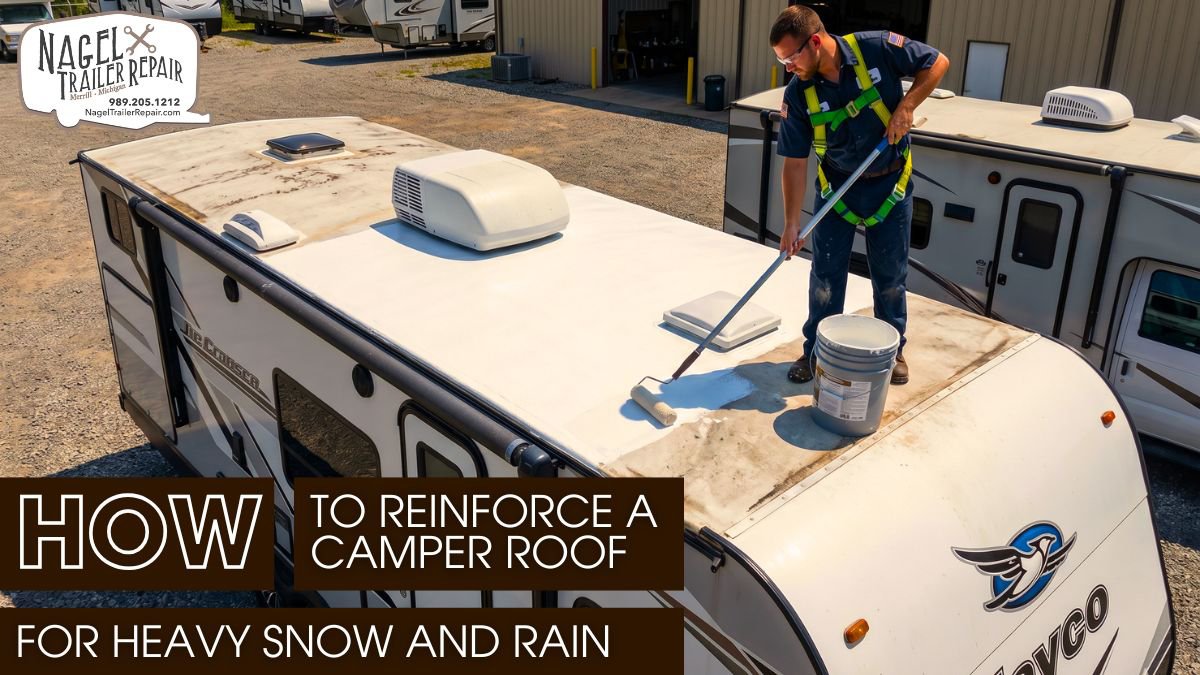
After reinforcing the surface, apply an elastomeric coating. This creates a flexible, waterproof barrier that can expand and contract with temperature changes. Pay extra attention to seams and edges. Use butyl tape under lap sealant to create multiple layers of protection. Reinforce edges with trim pieces to prevent water from seeping underneath.
- Add a rigid outer layer for strength
- Use elastomeric coatings for durability
- Seal seams with layered protection
- Reinforce edges to block water entry
A well-built exterior doesn’t just protect against water—it actively supports the structure beneath it.
Improve Camper Roof Drainage System:
Even the strongest roof can fail if water has nowhere to go. Standing water increases weight and accelerates material wear. Over time, it can lead to leaks, mold, and structural fatigue.
Create a slight slope or crown in the roof so water naturally flows off instead of pooling. Even a small gradient can make a big difference. You can adjust internal supports or add tapered materials to achieve this shape without major reconstruction.
Upgrade your drainage components as well. Install gutters or channels that can handle heavy rainfall and snowmelt. Make sure water exits the roof cleanly and doesn’t run back toward seams or sidewalls. Drip edges are especially useful for directing water away from vulnerable areas.
Routine cleaning is just as important as design. Leaves, dirt, and debris can block drainage paths and quickly turn a functional system into a problem area.
- Maintain a slight slope for runoff
- Install efficient gutters and channels
- Use drip edges to guide water flow
- Keep drainage paths clear of debris
Good drainage reduces load, protects materials, and extends the life of your reinforcement work.
Test and Maintain Roof Strength:
After completing the reinforcement, you need to confirm that everything works as intended. Controlled load testing gives you real insight into how your roof performs under stress. Spread weight evenly across the surface using sandbags or similar materials and watch for deflection or unusual movement.
Inspect every connection point during and after testing. Look for loose fasteners, shifting supports, or early signs of stress. Address any issues immediately before they develop into larger problems.
Maintenance should become part of your routine. Check seals, coatings, and drainage systems regularly, especially after severe weather. Reapply sealants when they begin to degrade, and keep all components in good condition.
- Perform controlled load testing
- Monitor deflection and stress points
- Inspect fasteners and joints regularly
- Maintain sealants and coatings
Consistent upkeep ensures that your reinforced roof continues to perform reliably year after year, even in challenging weather conditions.
The Role of Professional Maintenance:
Professional maintenance keeps your camper roof structurally sound and leak-free over time. Experts don’t just fix visible damage—they inspect load-bearing elements, reseal vulnerable joints, and reinforce weak sections before they fail. This proactive approach prevents water intrusion, material fatigue, and hidden structural issues that often go unnoticed.
Technicians use specialized tools to detect early-stage camper roof leaks, moisture buildup, and stress points caused by heavy snow or standing water. They also ensure proper drainage, apply high-performance sealants, and strengthen critical areas like seams and edges. Regular servicing extends roof life, improves durability, and helps you avoid costly repairs by addressing problems before they escalate.
Conclusion:
Reinforcing your camper roof demands a methodical approach that combines structural analysis, material optimization, and precise installation. When you address load capacity, internal framing, and exterior protection together, you create a system that performs reliably under heavy snow and sustained rainfall.
You also reduce long-term risk by improving drainage and maintaining watertight integrity. Small upgrades like proper slope, sealed seams, and reinforced edges significantly lower the chances of water intrusion, structural fatigue, and costly repairs over time.
Stay proactive with testing and routine inspections. At Nagel Trailer Repair, a well-reinforced roof withstands extreme weather. As a premier camper roofing shop in Michigan, we extend your camper service life, ensuring safety and performance in demanding environments. Book your inspection today!