


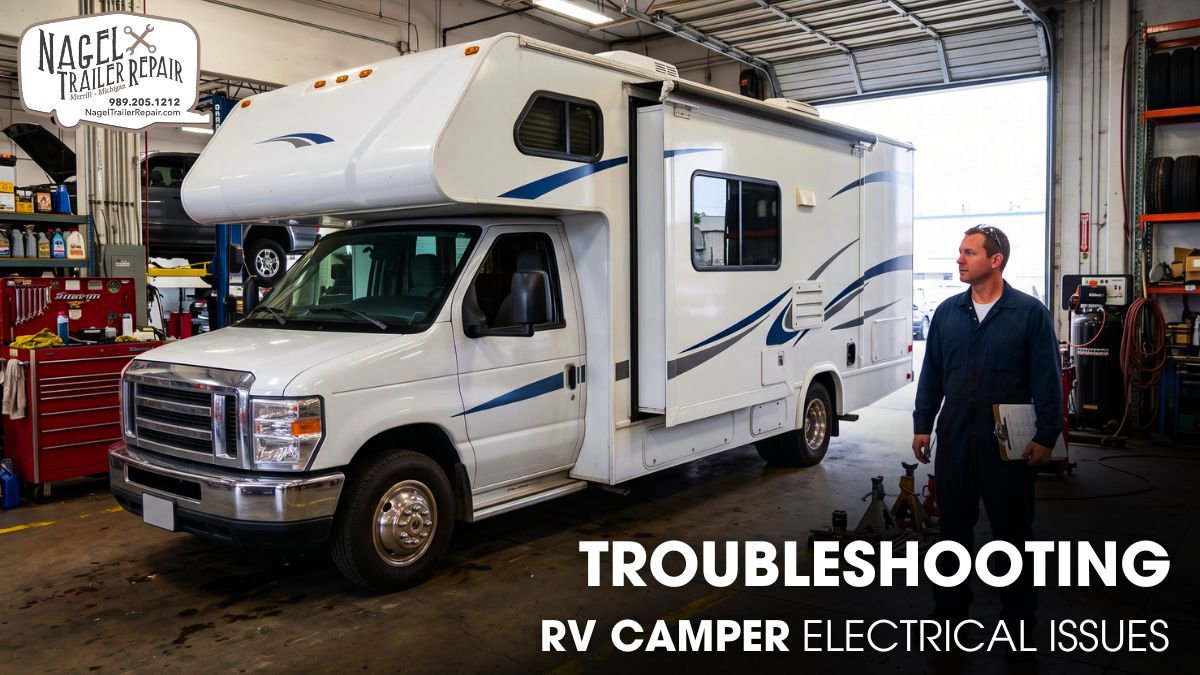
Electrical issues can quickly disrupt any RV adventure. From flickering lights to outlets that suddenly stop working, even minor problems can create frustration, inconvenience, and safety concerns on the road.
Many RV owners struggle to identify the source of electrical failures. Faulty batteries, tripped breakers, damaged wiring, or shore power connection problems can leave essential appliances and systems unusable, making troubleshooting feel overwhelming.
This guide simplifies troubleshooting RV camper electrical issues, but when problems exceed DIY fixes, call a trusted RV repair expert in Michigan. Learn to spot warning signs, test components, and apply safe solutions—yet for lasting peace of mind, professional care ensures your rig stays road-ready and worry-free.
Signs of RV Camper Electrical Problems:
RV campers rely on two interconnected electrical systems: a 12-volt DC system and a 120-volt AC system. The DC system powers components such as lights, water pumps, furnace controls, vent fans, and slide-outs, while the AC system operates appliances like air conditioners, microwaves, and residential-style outlets.
Because these systems work together through converters, inverters, batteries, and distribution panels, a fault in one area can affect multiple components throughout the RV. Most electrical failures begin with small warning signs. For example, interior lights may flicker when battery voltage drops below normal operating levels.
LED lights are particularly sensitive to voltage fluctuations and often reveal problems before other devices show symptoms. Similarly, slide-outs that move slower than usual or water pumps that cycle irregularly may indicate insufficient voltage reaching the equipment.
Pay close attention to the following warning signs:
- Flickering or dim interior lights
- Frequently blown fuses
- Repeated breaker trips
- Warm electrical outlets
- Burning odors near panels or appliances
- Battery overheating during charging
- Appliances shutting off unexpectedly
- GFCI outlets that refuse to reset
These symptoms often point to underlying issues such as excessive voltage drop, deteriorated wiring connections, overloaded circuits, or charging system failures. Addressing these warning signs early can prevent costly component damage and reduce the likelihood of a complete electrical outage.
Checking the RV Battery System:
The battery bank serves as the heart of the RV’s DC electrical system. Even when connected to shore power, batteries play a critical role because many control boards and safety circuits require stable DC voltage to function properly.
Start your inspection with the battery terminals. Corrosion around battery posts increases electrical resistance and restricts current flow. As resistance increases, voltage loss occurs, reducing the amount of usable power available to RV systems. Clean any corrosion using a battery terminal cleaning tool and inspect all cable connections for looseness or oxidation.
Next, measure battery voltage using a quality digital multimeter. Open-circuit voltage provides a useful snapshot of battery charge level:
- 12.7–12.8 volts: Fully charged
- 12.5 volts: Approximately 90% charged
- 12.4 volts: Approximately 75% charged
- 12.2 volts: Approximately 50% charged
- Below 12.0 volts: Deeply discharged
Voltage readings alone do not reveal the entire story. A battery can show acceptable voltage while suffering from reduced capacity due to sulfation. Sulfation occurs when lead sulfate crystals harden on battery plates, reducing the battery’s ability to store and deliver energy.
A load test provides a more accurate assessment of battery health. During a load test, technicians apply a controlled electrical demand and observe how the battery responds. Healthy batteries maintain stable voltage under load, while weak batteries experience rapid voltage decline.
Inspect additional components that support battery performance:
- Battery disconnect switches
- Grounding straps
- Main battery cables
- Fuse protection devices
- Battery management systems (for lithium batteries)
When diagnosing charging issues, verify converter output voltage. Modern multi-stage converters typically operate between 13.2 and 14.6 volts depending on charging mode. If the converter fails to maintain proper charging voltage, batteries may remain undercharged or experience excessive charging stress.
Diagnosing Shore Power Issues:
Shore power supplies external AC electricity to the RV and supports many of its highest-demand electrical loads. Problems within the shore power system can affect everything from air conditioning performance to battery charging efficiency.
Begin diagnostics at the campground pedestal or external power source. Many RV electrical problems originate outside the vehicle. Low-voltage conditions, poor grounding, damaged receptacles, and wiring defects within campground infrastructure can create significant operational issues.
Use a digital multimeter to verify proper voltage before connecting the RV. A standard 30-amp RV service should provide approximately 120 volts through a single hot conductor. A 50-amp service uses two independent 120-volt legs and can deliver substantially more power.
Common pedestal-related problems include:
- Reverse polarity
- Open ground conditions
- Open neutral conductors
- Low voltage
- Voltage fluctuations
- Damaged receptacles
Inspect the shore power cord carefully. Over time, repeated plugging and unplugging can loosen connector contacts. Loose contacts create resistance, and resistance generates heat. Excessive heat can damage plugs, receptacles, and internal wiring.
Automatic transfer switches also require close inspection. These devices automatically select between generator power and shore power. Worn relay contacts, carbon buildup, loose terminals, and arcing can interrupt power flow and create intermittent electrical issues that are difficult to diagnose.
Advanced troubleshooting often involves:
- Measuring voltage under load
- Testing neutral integrity
- Performing thermal scans
- Checking frequency stability
- Monitoring amperage draw
A high-quality surge protector or energy management system can detect dangerous power conditions before they damage sensitive RV electronics.
Troubleshooting Fuses and Breakers:
Fuses and circuit breakers protect the RV electrical system from excessive current. Whenever a fault occurs, these devices interrupt power flow before wiring insulation or connected equipment suffers damage.
Many RV owners simply replace a blown fuse and move on. However, a fuse rarely fails without a reason. A blown fuse typically indicates an overloaded circuit, short circuit, damaged component, or wiring defect.
Use a continuity tester or multimeter when inspecting fuses. Some fuse failures are not visible to the naked eye, making electrical testing more reliable than visual inspection alone.
Always replace fuses with identical amperage ratings. Installing a larger fuse may allow excessive current to flow through wiring that was never designed to handle it.
Circuit breakers protect AC circuits and respond to several fault conditions:
- Sustained overloads
- Short circuits
- Ground faults
- Internal breaker failure
To diagnose breaker problems accurately, calculate actual circuit demand. Electrical load calculations help determine whether a circuit is operating within its design limits.
The formula is straightforward:
Amperage = Watts ÷ Voltage
For example, a 1,500-watt space heater operating on a 120-volt circuit draws approximately 12.5 amps. Adding another high-demand appliance to the same circuit can easily exceed breaker capacity.
Professional technicians often use clamp meters and thermal imaging cameras to identify overloaded circuits, high-resistance connections, and developing electrical faults before they become visible.
Finding Wiring and Connection Faults:
Wiring problems rank among the most challenging RV electrical issues because much of the electrical infrastructure remains hidden behind walls, ceilings, cabinets, and underfloor compartments.
Unlike stationary residential structures, RVs endure constant vibration, road shock, temperature fluctuations, and moisture exposure. These conditions place significant stress on electrical connections and conductors.
Inspect accessible wiring carefully for:
- Chafed insulation
- Crushed cables
- Rodent damage
- Corrosion
- Loose connectors
- Burn marks
- Heat discoloration
Ground circuits deserve special attention. Many intermittent electrical problems trace back to poor grounding. A weak ground connection can cause erratic voltage readings, malfunctioning control boards, unreliable lighting performance, and communication errors between electronic systems.
Voltage-drop testing remains one of the most effective diagnostic techniques. A wire may pass continuity testing while still exhibiting excessive resistance that limits current flow during operation. By measuring voltage at various points along a circuit while equipment operates, technicians can identify hidden resistance problems.
Advanced diagnostic equipment may include:
- Digital multimeters
- Clamp meters
- Circuit tracers
- Tone generators
- Oscilloscopes
- Insulation resistance testers
Insulation resistance testing can reveal moisture intrusion and insulation degradation before a short circuit develops. This method proves especially valuable when troubleshooting older RVs or units exposed to prolonged humidity.
When dealing with intermittent faults, technicians often monitor circuits during actual operation rather than relying solely on static measurements. Real-world testing frequently exposes issues that remain hidden during basic inspections.
Preventive Maintenance and Safety:
Preventive maintenance remains the most effective way to reduce electrical failures and extend component lifespan. Routine inspections help identify developing problems before they lead to costly repairs or inconvenient breakdowns.
Establish a regular maintenance schedule that includes:
- Cleaning battery terminals
- Tightening electrical connections
- Inspecting shore power cords
- Testing GFCI outlets
- Checking breaker panels
- Verifying converter output
- Inspecting grounding points
- Examining wiring for wear
Keep electrical compartments clean and dry whenever possible. Moisture accelerates corrosion and increases the risk of leakage currents and insulation failure. Even minor water intrusion can create long-term electrical reliability issues.
Monitor battery charging performance regularly. Overcharging can overheat batteries and shorten service life, while chronic undercharging promotes sulfation and reduces capacity. Both conditions negatively affect overall system performance.
Safety should always guide every troubleshooting procedure. Disconnect shore power, shut down generators, isolate battery banks, and verify de-energization before servicing electrical equipment. AC circuits can carry dangerous voltages capable of causing severe injury or equipment damage.
Using proper diagnostic tools, following established testing procedures, and addressing electrical issues promptly can significantly improve RV reliability and reduce unexpected failures on the road.
The Role of Professional Maintenance:
Professional maintenance helps RV owners identify hidden issues before they become costly repairs. Skilled technicians use specialized diagnostic tools to locate electrical faults, test power systems, and ensure every component operates safely and efficiently.
Regular inspections also help maintain critical exterior components. Technicians can spot cracks, UV damage, and wear that may affect an RV roof vent cover, preventing water intrusion and ventilation problems that could impact interior comfort.
By combining preventive inspections with timely repairs, professionals help extend the lifespan of RV systems and components. This proactive approach improves safety, reduces unexpected breakdowns, and keeps RVs road-ready throughout the year.
Conclusion:
RV electrical systems combine AC distribution, DC storage, charging equipment, protection devices, and extensive wiring networks into a highly integrated infrastructure. Understanding how these components interact makes troubleshooting faster and more accurate.
A systematic diagnostic approach eliminates guesswork. By testing batteries, shore power inputs, breakers, fuses, transfer switches, and wiring connections methodically, RV owners can identify faults before they escalate into major failures.
Consistent preventive maintenance remains the most effective strategy for long-term reliability. Trust Nagel Trailer Repair, your RV repair expert in Michigan, for regular inspections, proper testing, and timely repairs that protect your gear, ensure safe power, and keep every journey worry-free. Stay ahead—schedule your service today!