


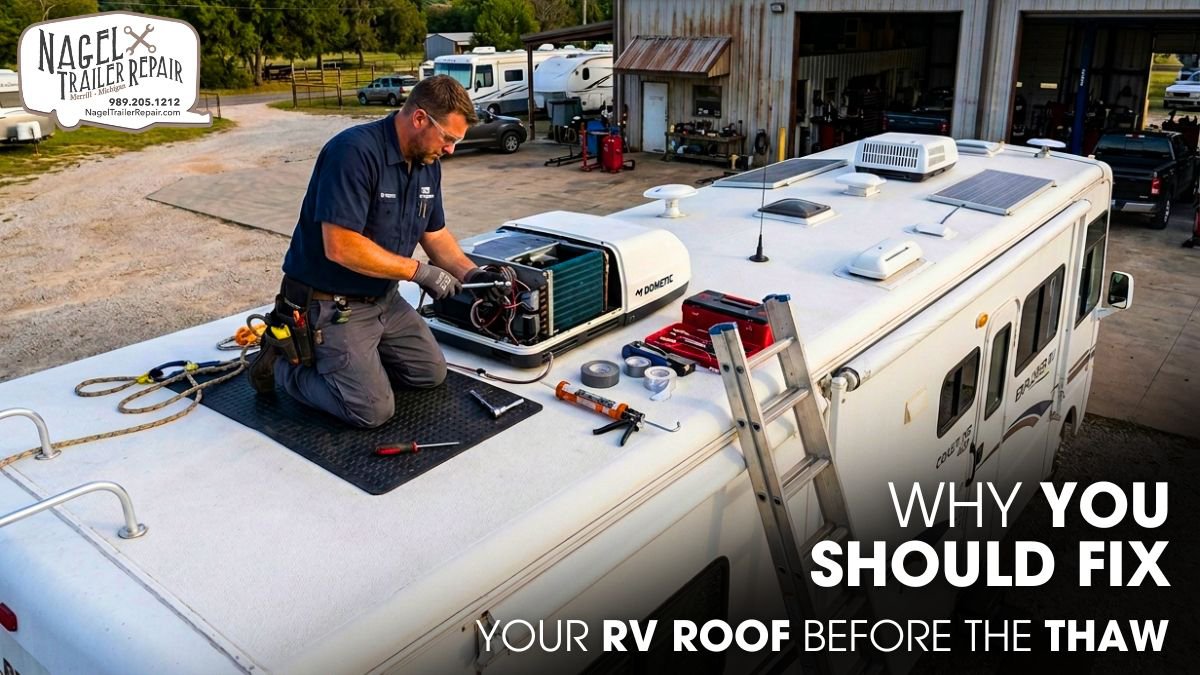
Winter can put your RV roof under serious pressure. Snow, ice, freezing temperatures, and repeated temperature changes can weaken seals, crack roofing materials, and create small openings that may go unnoticed. Before warmer weather arrives, your RV roof needs attention.
When the thaw begins, melting snow and ice can enter through damaged seams, vents, and seals. Water intrusion can quickly affect insulation, ceilings, walls, and interior components, turning a minor roof issue into an expensive repair.
Fixing your RV roof before the thaw helps prevent moisture intrusion, structural damage, and costly repairs. An RV roof expert in Michigan can inspect weak areas, restore damaged seals, and address leaks before winter conditions worsen them. Timely professional care protects your RV and keeps it road-ready.
Why Winter Damages RV Roofs?
Your RV roof does much more than keep rain out. It acts as a protective envelope between the interior and the outdoor environment. At the same time, the roof has to tolerate chassis movement, road vibration, temperature changes, ultraviolet exposure, wind, snow, and repeated expansion and contraction. Winter puts several of these stresses together.
When temperatures drop, many roofing materials and sealants contract. When sunlight or warmer air raises the roof temperature, they expand again. This movement may seem insignificant during a single temperature cycle, but hundreds of cycles can gradually fatigue seals and joints.
The problem becomes more noticeable around vents, skylights, antennas, air-conditioning units, plumbing penetrations, and other areas where rigid components meet flexible roofing materials. Freeze-thaw cycling creates another serious problem. Water can enter a tiny crack or separation in deteriorated sealant. When temperatures fall below freezing, the trapped water freezes and expands.
That expansion can exert pressure on the surrounding material. Repeated freezing and thawing can gradually widen the original defect. Snow and ice can also keep the roof wet for extended periods. If debris blocks drainage paths, melting water can remain against seams and penetrations instead of flowing away efficiently.
Common winter stressors include:
- Thermal expansion and contraction
- Freeze-thaw pressure inside roof defects
- Snow and ice accumulation
- Sealant hardening and loss of flexibility
- Road vibration and structural movement
- UV-damaged roofing materials exposed to winter conditions
RV roof construction plays a key role in choosing the right repair method. EPDM, TPO, fiberglass, and aluminum each require compatible materials for proper adhesion and lasting protection. An experienced RV roofing shop in Michigan can assess the roof surface and select the appropriate sealant, adhesive, patch, or coating to ensure a reliable repair.
What Happens During the Thaw?
The spring thaw creates a completely different moisture environment. Snow and ice that accumulated during winter begin converting into liquid water. If your roof contains a small opening, the resulting water can exploit that defect repeatedly throughout the day.
One important point often gets overlooked: water does not always travel straight down from the entry point. It can move along roofing membranes, wood decking, insulation, fasteners, wiring paths, and other interfaces before reaching the RV interior. As a result, the location of a ceiling stain may sit several inches or even farther away from the actual roof defect.
For example, a compromised seal around a roof vent may allow water beneath the roofing material. Gravity and surface tension can then move that moisture toward a lower point in the roof assembly. Eventually, the water may appear around a ceiling light or cabinet rather than directly beneath the vent.
During a thaw, pay close attention to:
- New ceiling stains or discoloration
- Damp wall or ceiling panels
- Soft or swollen interior materials
- Dripping near roof-mounted fixtures
- Musty or persistent moisture odors
- Areas where insulation appears saturated
Water intrusion can also change the moisture content of the roof substrate. Wood-based decking absorbs water and expands. If the material remains wet, it can gradually lose mechanical strength and develop deterioration. Wet insulation can lose part of its intended thermal performance and may take considerable time to dry when moisture becomes trapped inside an enclosed assembly.
That is why a roof inspection before the thaw offers more than finding an active leak. For reliable RV roof repairs in Michigan, early inspection helps trace hidden water pathways and prevent moisture from reaching the interior.
Signs Your RV Roof Needs Repair:
You do not need to wait for water dripping from the ceiling before taking a roof problem seriously. Many RV roof failures begin as small defects that remain relatively easy to repair when technicians catch them early. Start by inspecting the roof seams and all penetrations. Look for sealant that has cracked, separated, shrunk, hardened, or developed gaps.
Pay special attention to the edges of vents, skylights, air-conditioning units, antennas, and other mounted components. These areas experience different levels of movement and often become vulnerable before the main roofing surface shows obvious damage. Also examine the roofing membrane or roof surface for punctures, abrasions, bubbling, lifting, wrinkles, tears, or unusual deformation.
A bubble or raised section can indicate a problem beneath the visible surface rather than a simple cosmetic defect. Inside the RV, inspect the ceiling, walls, cabinets, and corners for signs of moisture. Discoloration, swollen panels, soft surfaces, peeling finishes, or musty odors can all indicate water migration.
Look for these warning signs:
- Cracked or detached sealant
- Punctures, tears, or membrane separation
- Soft or spongy roof sections
- Water stains near roof penetrations
- Damp insulation or interior panels
- Persistent musty odors
A soft roof area needs careful inspection, especially when moisture may have weakened the decking. For reliable RV roof maintenance in Michigan, a technician should assess the roof substrate before applying new sealant. If the underlying material has lost its strength, sealing the surface alone will not resolve the structural damage or prevent further deterioration.
Risks of Delaying RV Roof Repairs:
A small roof defect can become a large repair because water rarely respects the boundaries of the original damage. Once moisture passes through the primary roof barrier, it can migrate through multiple layers of the RV. The roof assembly may contain a membrane or exterior skin, adhesive layers, decking, insulation, framing, and interior ceiling material. Water can move between these components and remain hidden from view.
By the time you notice a stain, the moisture may have already affected a much larger area. Roof-deck deterioration presents a significant concern. Wood-based materials can absorb moisture and experience dimensional changes. Continued exposure can weaken the substrate and compromise the way fasteners, adhesives, and roofing materials perform.
Insulation can also suffer. When insulation becomes saturated, it cannot perform at its intended thermal efficiency. Trapped moisture can remain inside enclosed cavities, particularly when the assembly has limited ventilation. Water can even reach electrical components. Wiring routes, light fixtures, and other penetrations can provide pathways for moisture migration. This makes an unresolved roof leak more than a cosmetic concern.
Delaying repair can lead to:
- Larger areas of structural deterioration
- Damaged insulation and ceiling materials
- Corrosion around metal components
- Persistent moisture and odor problems
- More extensive interior restoration
- Higher labor and material requirements
Early action can significantly reduce repair costs. Addressing a failing seal or small membrane defect through professional RV roof sealing in Michigan often requires far less labor and materials than replacing water-damaged decking, insulation, ceiling panels, and interior finishes. Timely sealing helps prevent minor roof issues from becoming expensive structural repairs.
Benefits of Pre-Thaw Roof Repair:
Repairing your RV roof before the thaw gives you an opportunity to address defects before continuous meltwater begins testing them. The objective should always be functional restoration, not simply making the roof look better.
A professional repair begins by identifying the failure mechanism. The technician needs to determine whether the problem comes from sealant deterioration, membrane damage, mechanical movement, failed adhesion, substrate deterioration, or a combination of these conditions.
Surface preparation plays a major role in repair quality. If old sealant has lost adhesion, simply applying another layer over it may create a temporary-looking repair without establishing a reliable bond. Depending on the roof system, technicians may need to remove deteriorated material, clean the surface, allow it to dry, and prepare it according to the manufacturer’s requirements.
Material compatibility matters just as much. RV roofs use different membrane and substrate materials, and each can respond differently to adhesives, solvents, primers, and sealants. The repair product must provide appropriate adhesion while remaining flexible enough to accommodate normal roof movement.
Pre-thaw roof repair can:
- Reduce the risk of meltwater intrusion
- Protect the roof deck and insulation
- Restore failed seams and penetrations
- Address minor defects before they expand
- Extend the service life of roofing components
- Reduce the probability of major interior repairs
A professional inspection also creates a useful maintenance baseline. Once technicians document the roof’s condition, you can monitor vulnerable areas during future seasonal inspections instead of starting from scratch each time. Searching for an “RV roofing shop near me” helps ensure those inspections are done right.
How to Prepare Your RV Roof:
Start preparation with a complete inspection rather than immediately reaching for a tube of sealant. Remove loose debris carefully and inspect the roof surface, seams, edges, penetrations, and mounted accessories. If the roof has accumulated dirt or organic debris, clean it using a method compatible with the roofing material. Avoid aggressive tools that can cut, puncture, abrade, or prematurely wear the membrane.
Do not automatically cover old sealant with new material. A failed sealant joint may require removal and proper surface preparation before technicians install a compatible replacement. The new material needs a suitable bonding surface to perform correctly.
You should also avoid using generic household caulk or an unapproved roof coating. RV roofing systems experience vibration, thermal movement, and environmental exposure that ordinary building products may not handle adequately. The correct repair material depends on the roof type and the manufacturer’s specifications.
A thorough pre-thaw inspection should evaluate:
- Roof membrane or exterior roof surface
- Seams, corners, and termination points
- Vents, skylights, antennas, and AC units
- Sealant condition and adhesion
- Roof-deck firmness around damaged areas
- Interior surfaces for moisture evidence
- Drainage and areas where water may collect
If you discover a soft roof section, active leak, damaged membrane, separated sealant, or unexplained interior staining, schedule a professional RV roof assessment. A technician can investigate the source, determine the extent of the damage, and select a repair method appropriate for the specific roof construction.
Most importantly, don’t wait until spring rain or melting snow reveals an existing weakness. A pre-thaw inspection lets you fix the issue while it’s still manageable. For expert help, consult an RV roof specialist in Michigan to catch problems early.
The Role of Professional Maintenance:
Professional maintenance helps prevent small RV roof defects from becoming major moisture problems during the thaw. Experienced technicians inspect seams, roof penetrations, membranes, and vulnerable areas to identify hidden deterioration before melting snow and ice expose it. They assess the roof material, check sealant adhesion, and determine whether the substrate remains structurally sound.
This proactive approach protects insulation, decking, ceilings, and interior components while reducing the risk of expensive water damage. When technicians repair degraded sealant sections, they first remove loose or failed material rather than simply covering it.
They clean and properly prepare the bonding surface, allow it to dry, and apply a compatible RV-grade sealant designed for the specific roof system. Proper tooling creates a continuous, watertight seal while allowing normal thermal movement. Professional application restores the roof’s moisture barrier and improves long-term durability
Conclusion:
Your RV roof provides the first line of defense against winter weather and spring moisture. Freeze-thaw cycles, thermal movement, deteriorated sealants, and snow exposure can turn small defects into serious water-intrusion pathways.
Repairing damaged seams, membranes, and roof penetrations before the thaw limits moisture exposure and protects insulation, decking, walls, ceilings, and interior components. Professional inspection also helps identify concealed deterioration. Do not wait for melting snow to expose a roof failure.
Get a pre-thaw inspection from Nagel Trailer Repair. As your RV roof expert in Michigan, we match the right repair system to preserve roof performance, cut restoration costs, and keep your RV structurally protected—ready for the road. Book your inspection today before thaw season hits!